A phone holder for the new MSM Nomad Harmonic
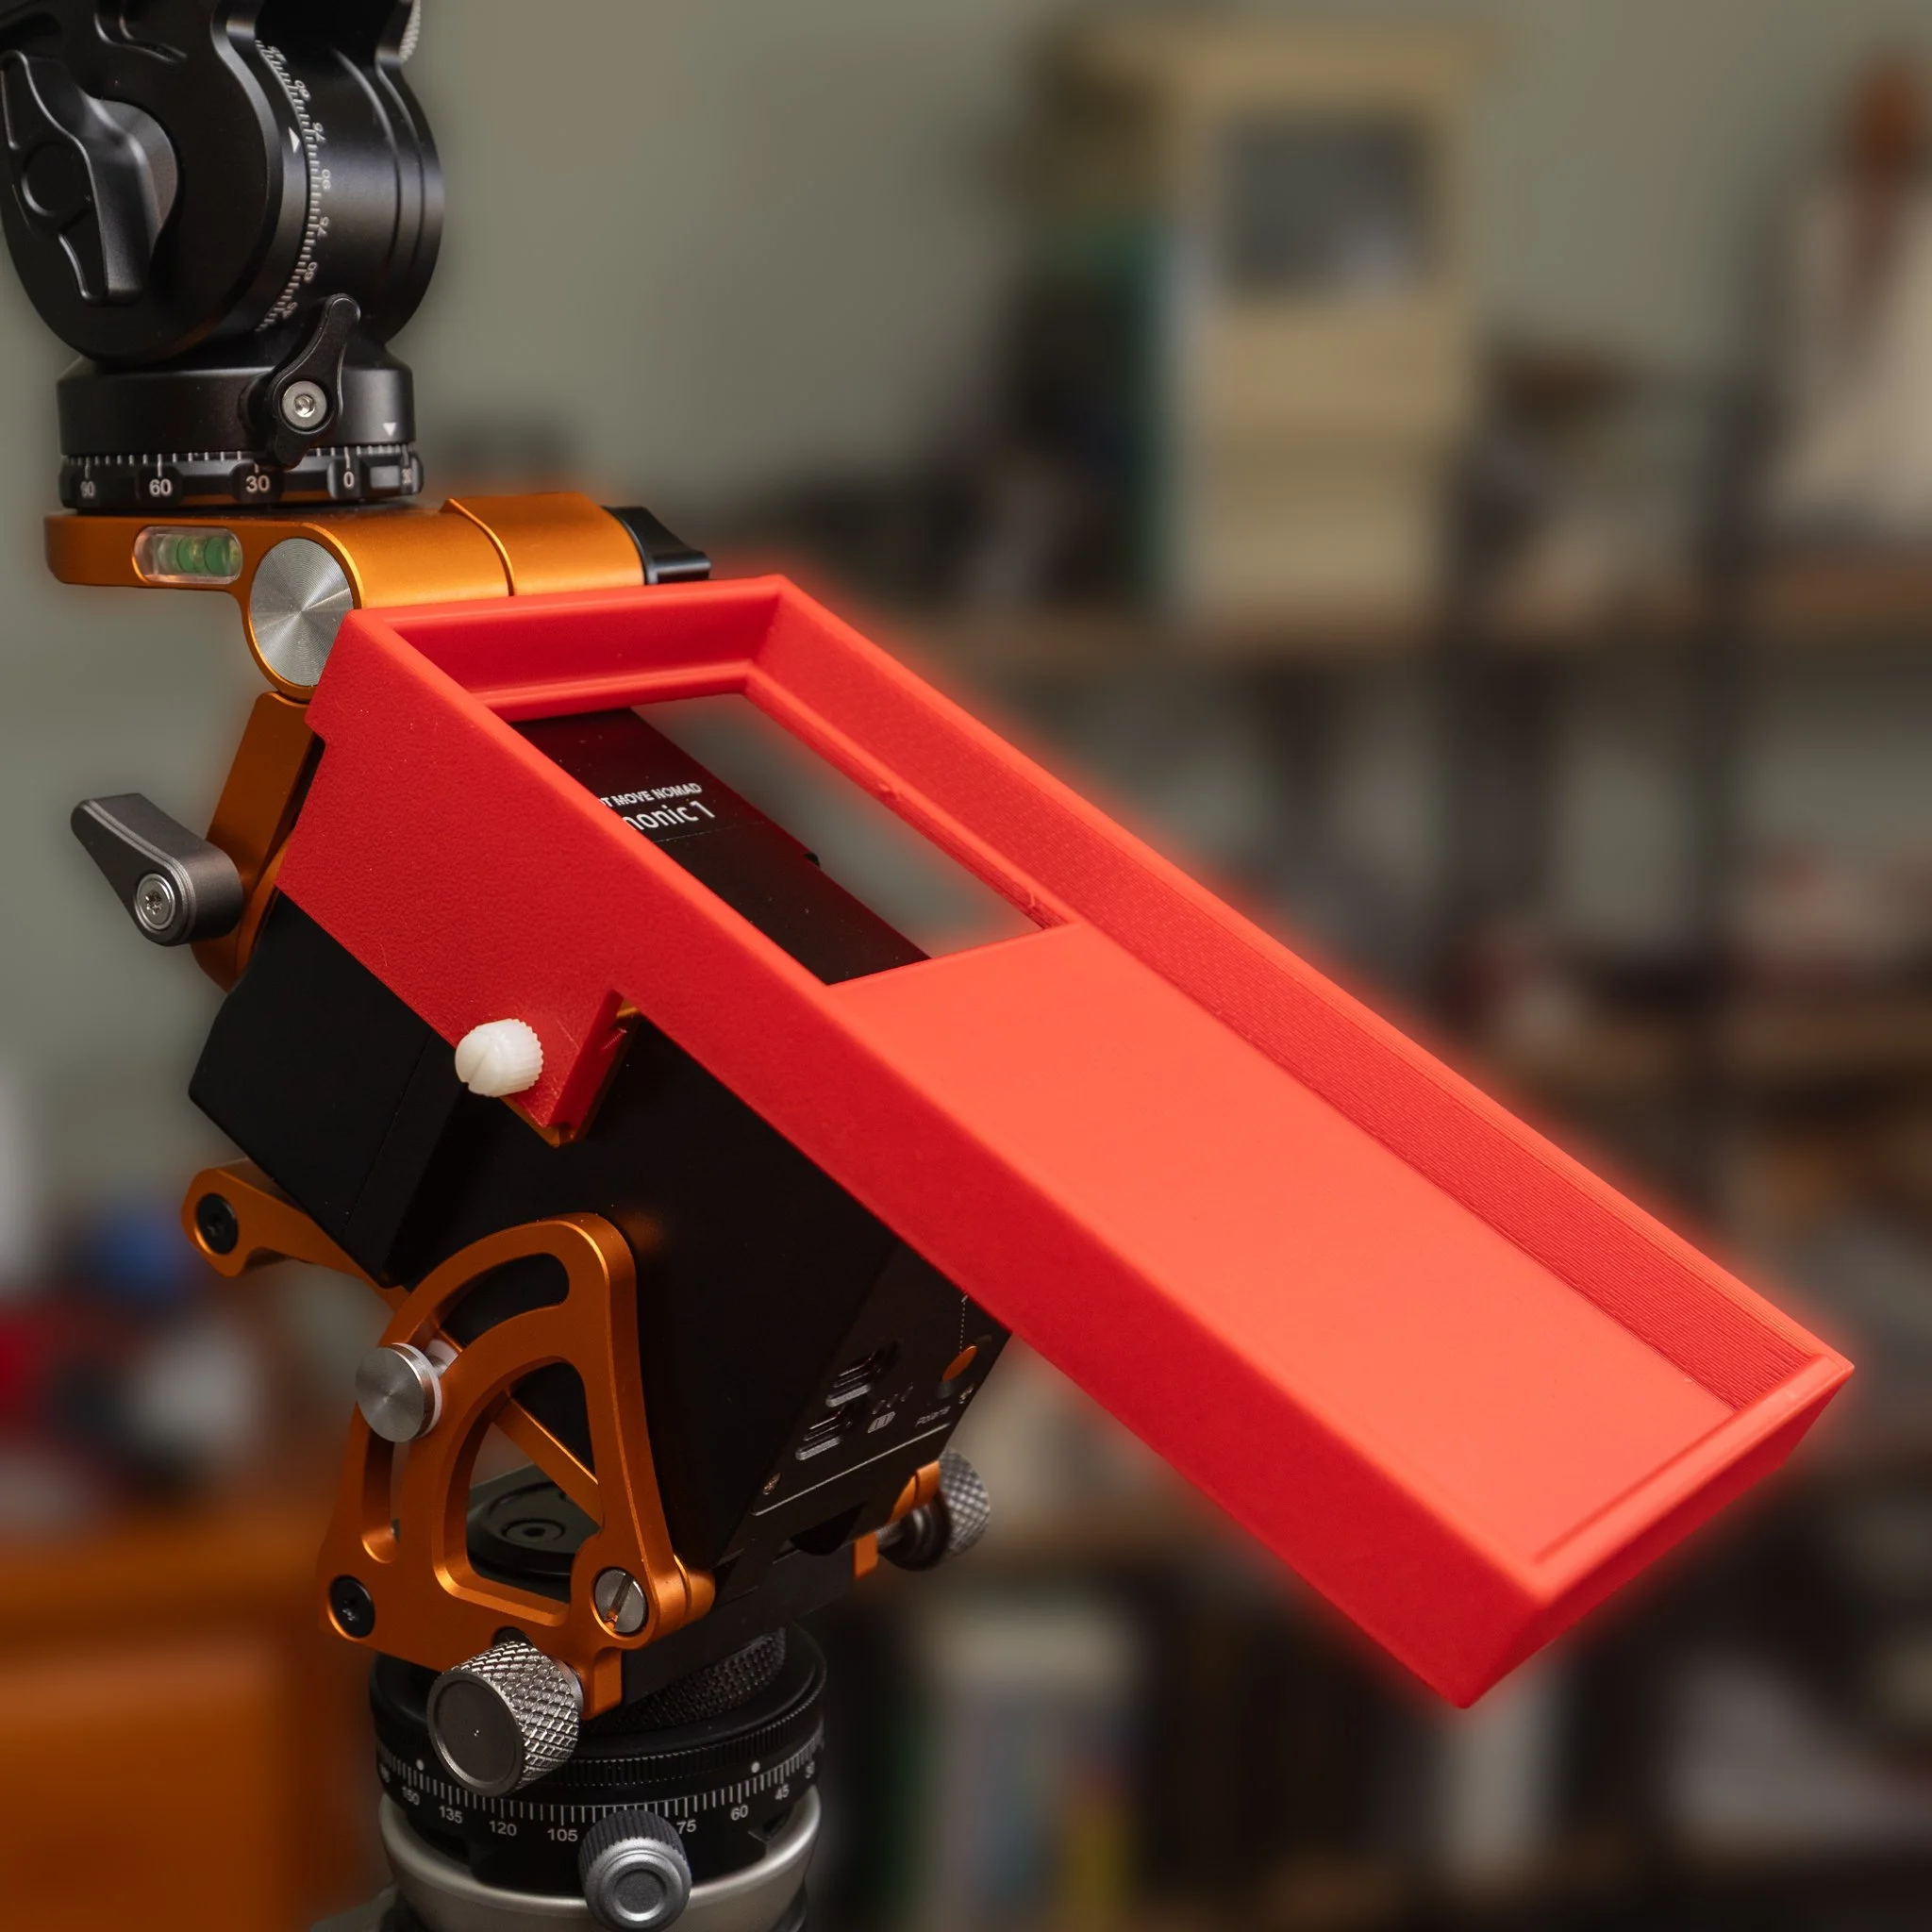
Move Shoot Move have recently released their new Nomad Harmonic star tracker. While it is a great unit with a high load limit and integral laser using it in the southern hemisphere poses the normal challenges we see with so many trackers. Namely, with no Polaris to align to (and lasers being illegal for this use in Australia and much of the. southern hemisphere anyway) we need to either use a polar scope on the difficult to see Octans or find an alternative such as using a phone app. Obviously to do this we need a simple and reliable way to mount the phone on the tracker. You can find a quick YouTube video of my first impressions of the tracker and me using the mount at this link.
MSM was kind enough to send me an early release of the tracker (I will do a video and blog review of the tracker itself in the coming weeks) so I could have look at developing a simple 3d printed phone bracket for it in a similar way I did for the original Nomad, and you will find a link to the result at the bottom of this blog.
The bracket slips onto the shoe mount at the side of the tracker and is secured with a 10mm M4 nylon screw (easy to get from online sellers). The bracket itself sits against the top surface other the tracker with the phone sitting in it freely.
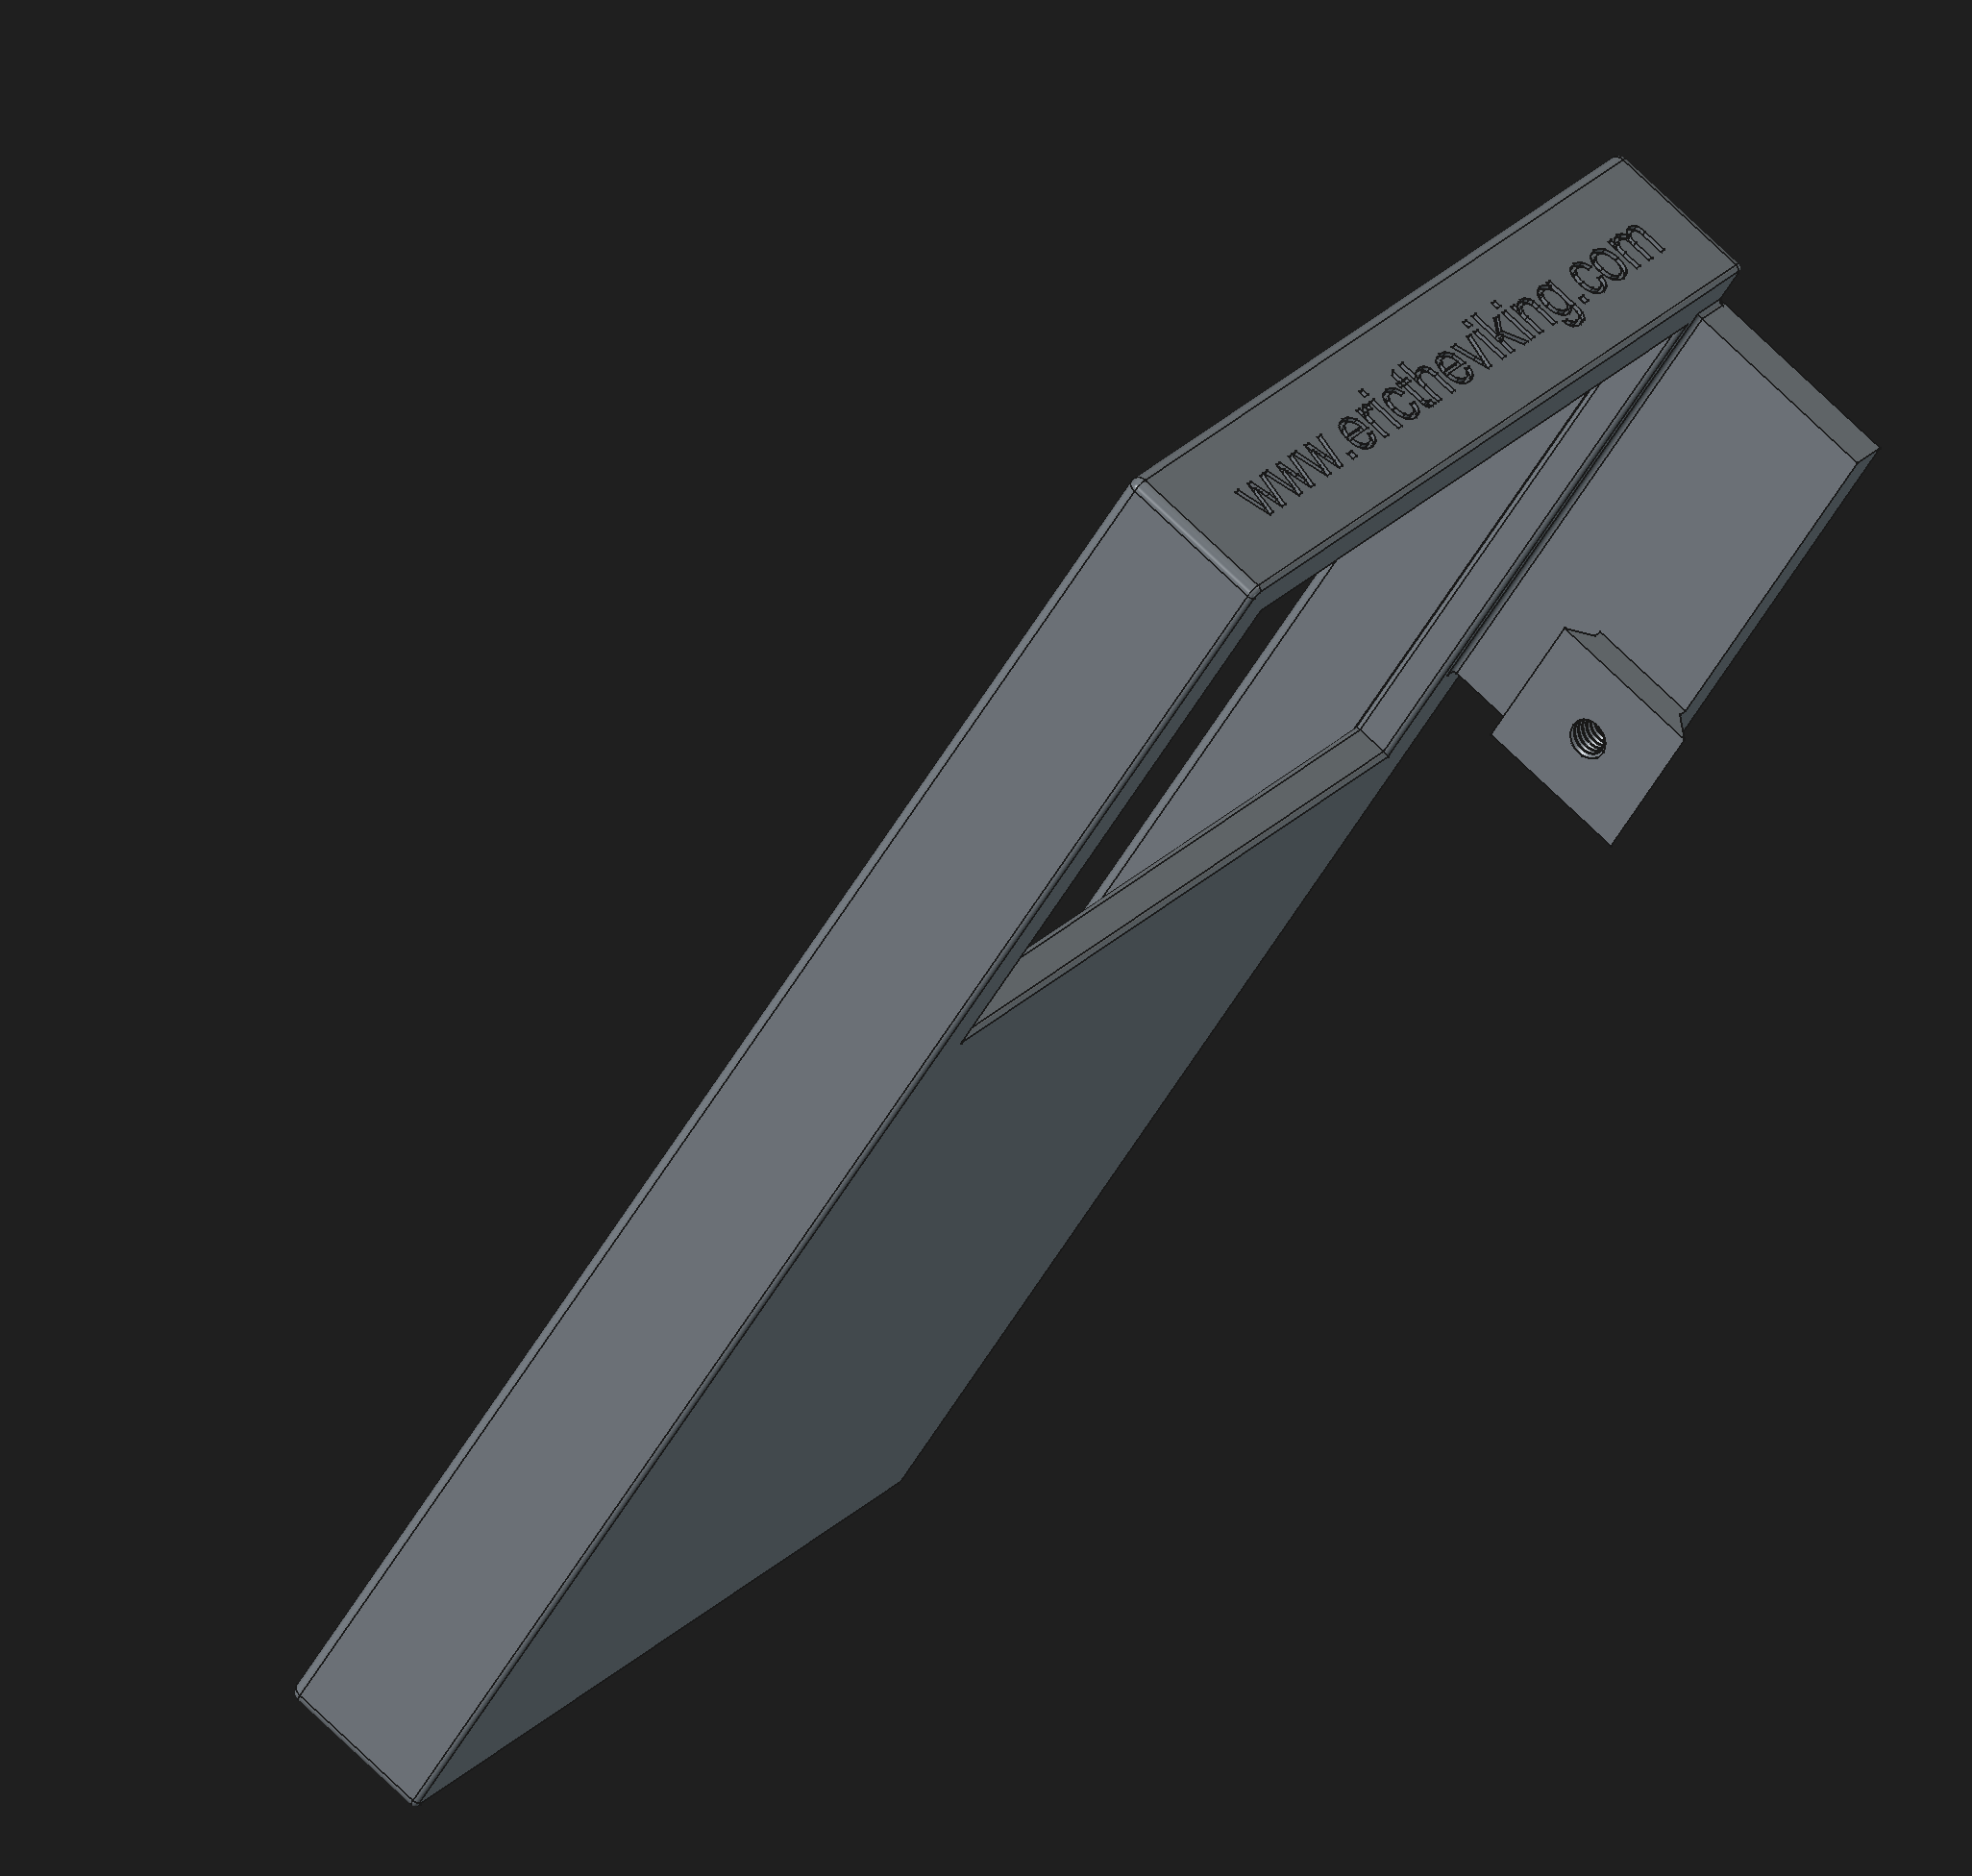
There FreeCad design for the tracker.
The holder is big enough to hold a phone 164mm high and 78 mm wide. A version to hold larger phones will be coming if I get enough feedback that it is needed.
My initial tests have suggested that the new Nomadic Harmonic actually does have a magnetic field that can impact phone compasses (in some of my tests it appeared to lead to an error between 5 and 10 degrees) so I would suggest using the Polar Scope Align Pro app with its compass disabled single star calibration mode as an app for aligning (see this link for for more information). In my tests with this I managed to easily get a 5 minute exposure with a 50mm lens with no trailing on this tracker which is brilliant. With a 200mm lens I managed to get good 2 minute tracks without much effort which is pretty impressive (see my earlier blog on “How accurate does my polar alignment need to be?”)
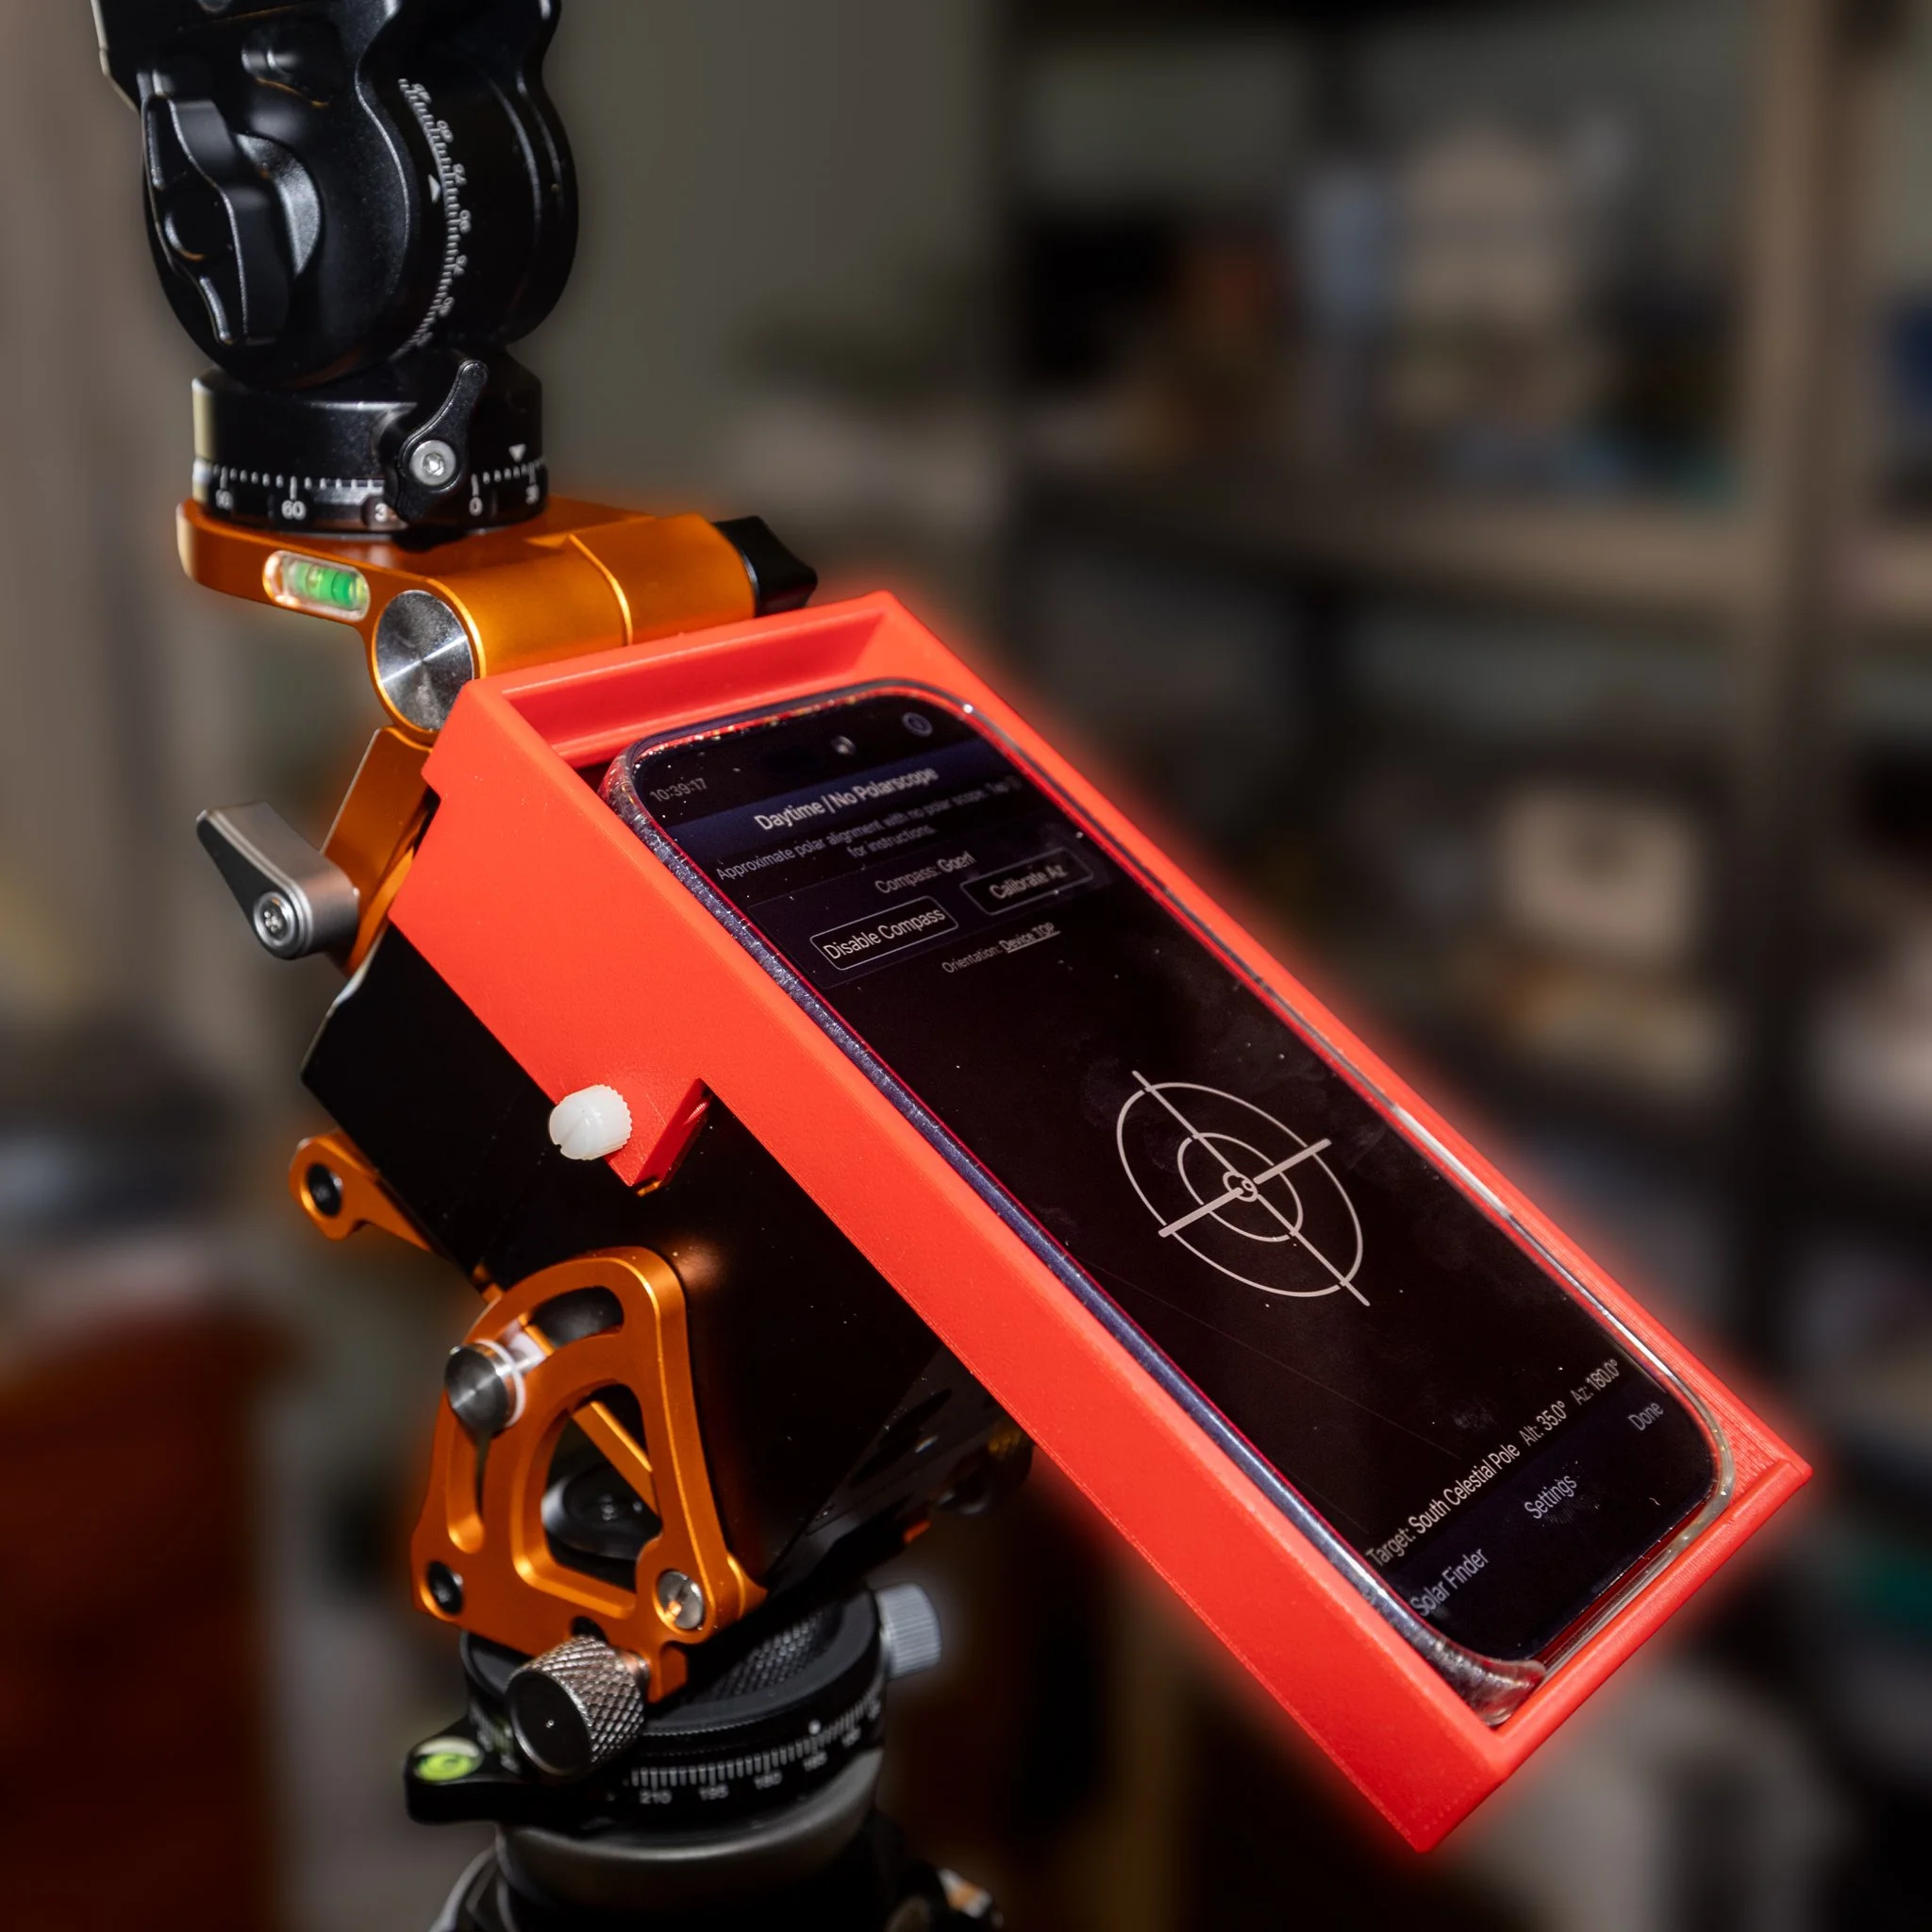
The Nomad Harmonic and phone holder being used to polar align with the Polar Scope Align Pro app.
This bracket/holder prints well using PLA and simple settings (0.2mm layer height, 2 wall loops and 15% infill) but there are a few things to do to have a successful print that will fit snugly to the tracker. The first is to print it with the foot side of the bracket facing down on the printer plate, this seems to give the best result for the foot that slides into the shoe on the tracker. The next is to make sure to use supports. See the images below.
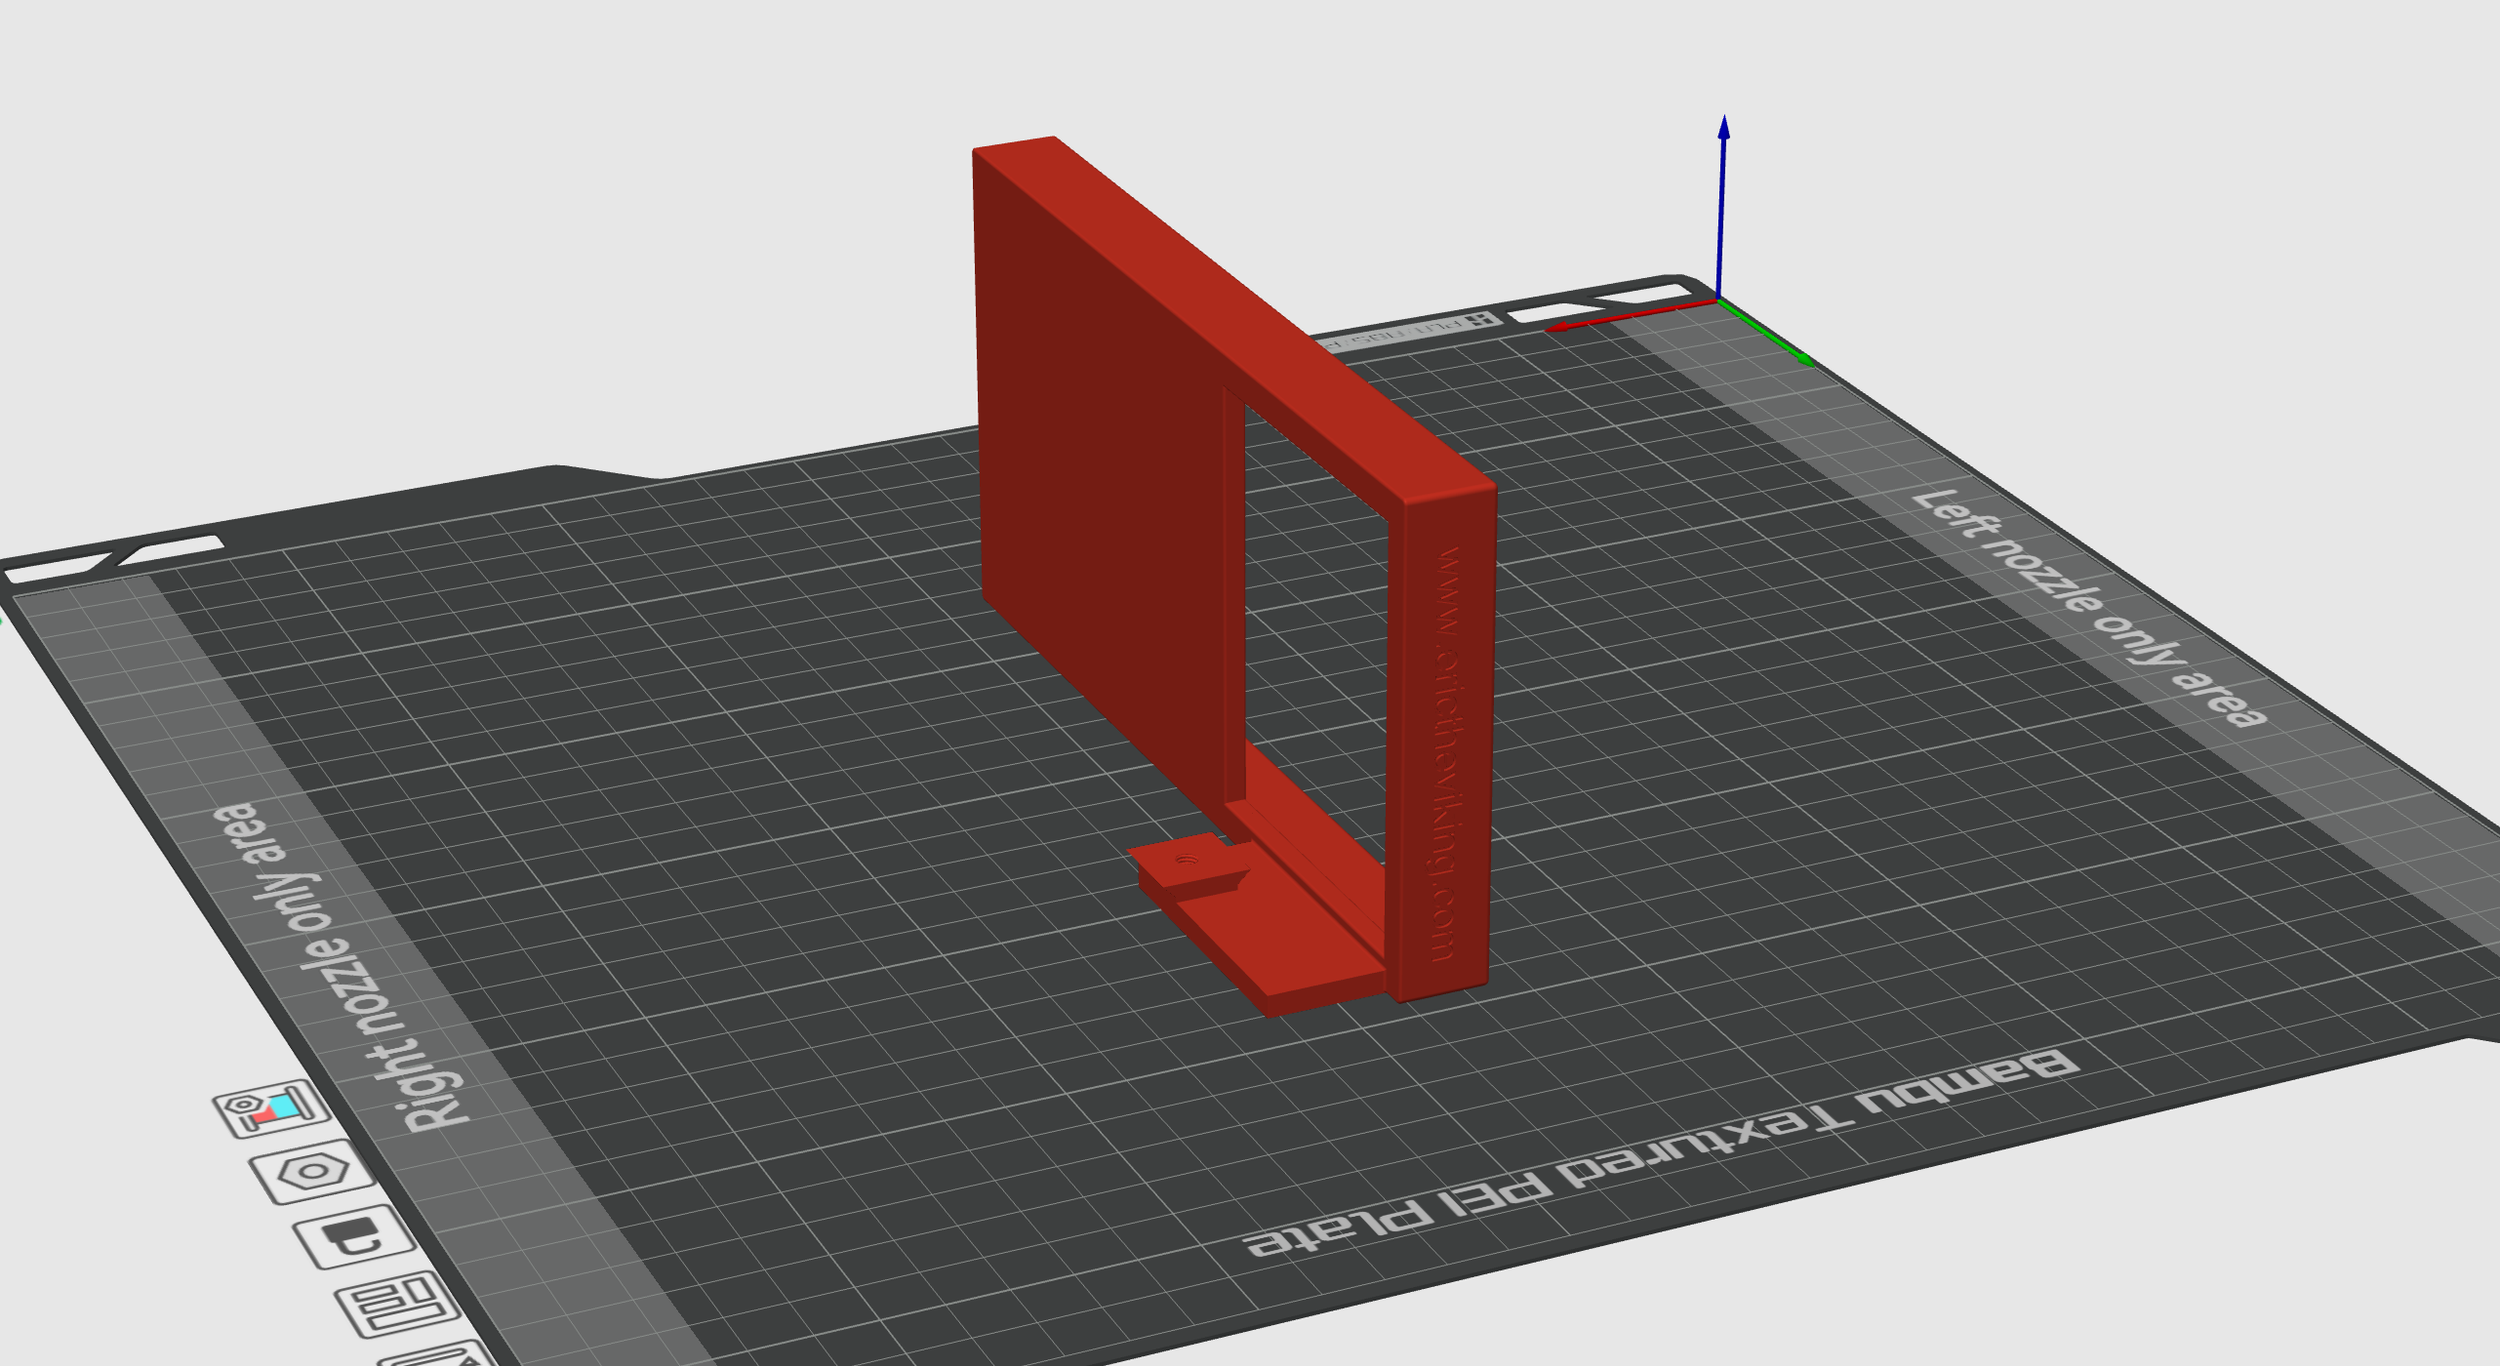
The orientation of the bracket on the print surface to get best results.
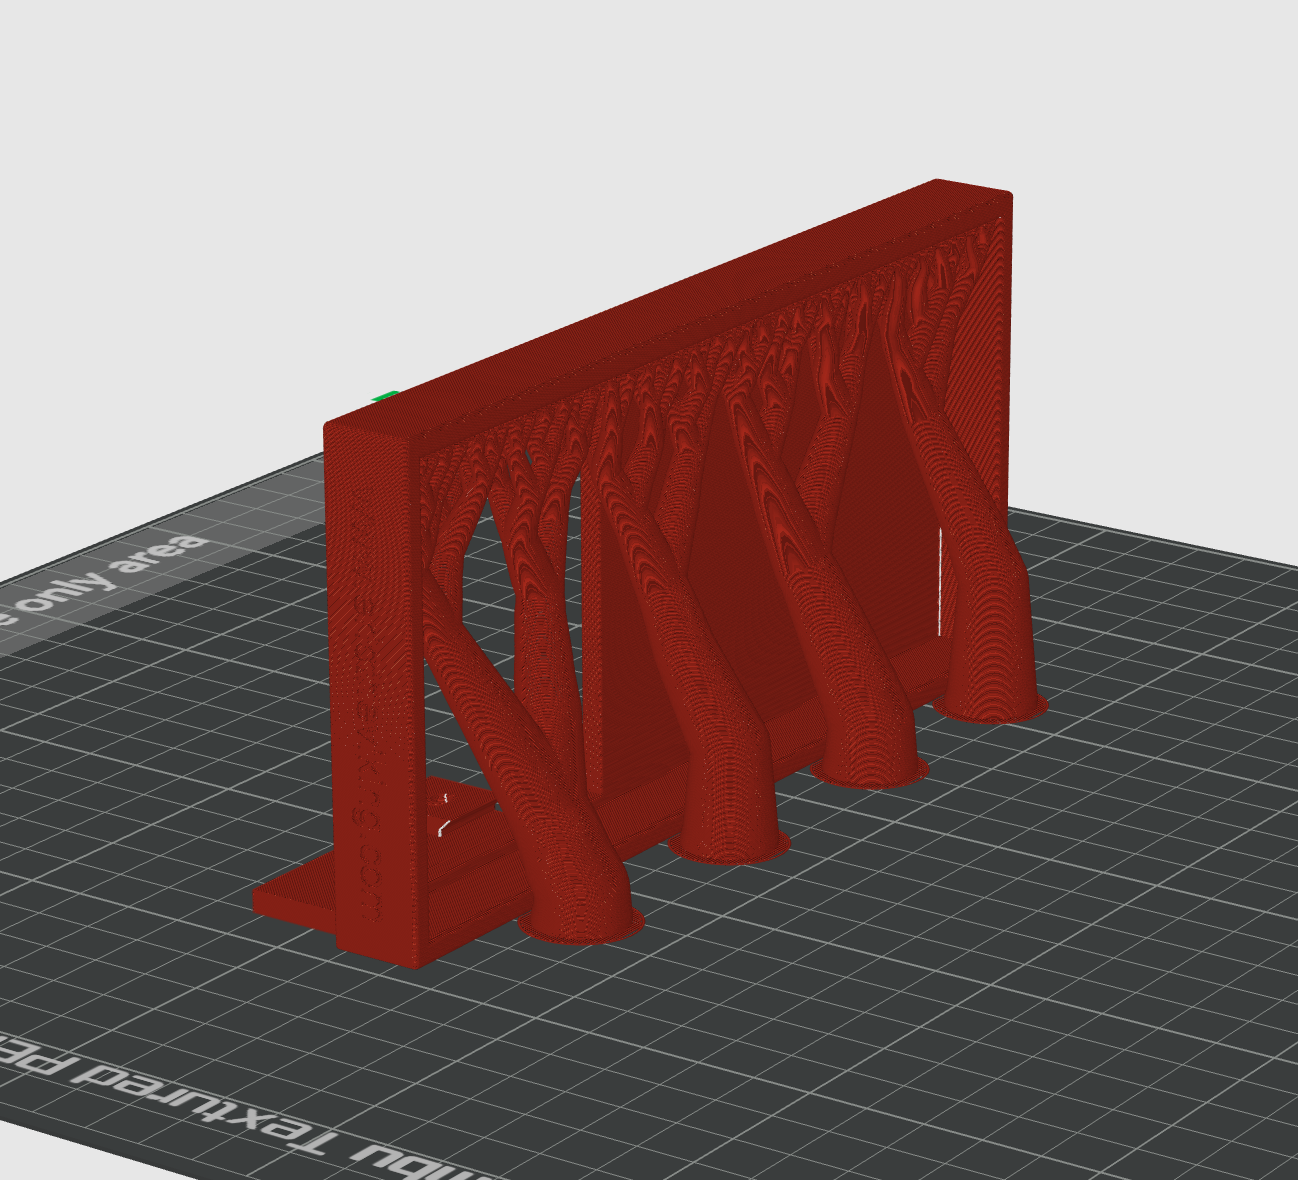
Make sure to use supports!
As is usually the case for these kind of projects I am making the 3d-printer files available for free to download below. However there are a few warnings I need to give as with all my 3d print projects.
This version of the bracket is designed to hold a phone smaller 164mm x 78mm which is fine for many of the phones out there (I use a iPhone 17pro). Check your phone size before priniting. If enough people ask for it I will do a bigger version as soon as I have time (this is not my day job 😎).
It needs a M4×10mm nylon thumb screw (I just buy them from Amazon) to hold the bracket in place on the tracker. The quality of 3-d printed threads varies depending on the printer so to ensure a smooth fit it is worth running a M4 tap through the hole before trying to insert the nylon thumbscrews. If you don’t have a M4 tap then just screwing in any metal M4 bolt should do the job as well.
I am not after any payment for this design, just sharing it with like minded people in case it is useful. I would love it if you gave me a follow on instagram / Facebook and subscribe to my YouTube channel in return. If you want to show me you appreciate my efforts buy me a coffee here. I really do appreciate the support. But I do ask that you do not pass it on, sell copies or upload the design to any sites for further distribution. If you know anyone interested just point them at me. If you are keen to distribute it in countries outside of Australia get in touch.
I will be updating the design as things occur to me so check on this blog occasionally..
When printing, make sure you use supports. I generally print things in PLA, with a wall thickness of 2 and 15% infil using a gyroid patern.
Finally, get out, look at the universe, take some photos and have fun. It really is worth it.
You can download the STL file to print the bracket at this link. You can download the .3MH file for use with Bambu printers here. If the link looks like it is broken, it is probably something to do with how you got to the site, Facebook links seem to wreak havoc with this sort of thing. Just navigate directly to my site in your browser and it should be fine.