Getting up close and personal
Well over a year since my last blog post, oh well so much for good intentions……
This image is one of those one which really was not planned in any way. Stuck at home with a cold (something that has a whole new meaning in the era of covid) and wandering aimlessly around the garden when a closer look at the lemon tree revealed a caterpillar. I have a macro lens, a ring flash, I can get a picture!

Not the most likely looking spot for a photo effort, but it pays to keep your eyes open.
Getting the image turned into a truely gymnastic effort with the tripod legs splayed all at different angles and lengths, squeezed between the lemon tree and the retaining wall so I could get the angle I wanted. In hindsight I could have cut off the small branch the caterpillar was on and set up in a comfortable and perfectly lit spot, but that is hardly the point is it.
One of the things I find incredibly helpful for this kind of image is having a ring flash attached to the front of the lens. Really changes the dynamic of getting the image and allows you to isolate the subject in a way which just can’t happen with natural light. I use a relatively cheap Yongnuo version I bought off the web which now has a broken battery door which I need to keep shut with big rubber band, but it still does the job.

Even with lots of contortions it was hard to get close enough to take full advantage of the macro lens
Even with all these efforts I could only get so close and definitely could not get him to fill the frame so to speak. Was also keen to try out the focus stacking on the EOS R5 (I have gone totally mirrorless now), only to find out it would not trigger my flash in that mode. Much grinding of teeth.
After a little bit of playing however I realised the most effective image was one where I got fully front on and let his body fade to out of focus and just get his/her amazing face. Ridiculously human like markings there and I do not know what is what, but it makes a cool image.

Canon Eos R5, EF100mm 2.8 macro, ISO 100, 1/200, f11 with ring flash
Once I had the image post was pretty straight forward. Cropped hard to the subject (45 megapixels does give you some serious latitude) adjusted whites and blacks, a little bit of clarity, some noise reduction and sharpening and a light vignette (all in Lightroom). The final result was pretty worth it, not bad for a backyard effort.
And what happened to the caterpillar? I left him be, he was not eating that much.
Into the studio for a lighting challenge
When I decided that I would like to redo my work’s stylised logo as a real photo to present as a framed print as a farewell gift for a friend I said to myself it shouldn't be too hard. It seems that is what I always seem to say to myself before a couple of days of my weekend disappear into studio work. Yeah, I never learn.

Composite of two images, Canon 5DIV, EF24-105 F4L, 82mm F11 1/125, Elinchrom 100W strobe
The basic set up for each of the two images was not that difficult. Essentially a single strobe through a scrim backlight to produce a high key image with black cards to the sides and above to give definition to the edges of the glass and the flask, as well as shading to give each image depth.
The first challenge was that while two parallel cards worked fine for the glass, for the conical flask they had to be set at an angle that matched the sloping sides of the conical flask or the edge shading looked uneven and weird. Lots of experimentation and redos to make it even close to right. For both images each subject also had to be right in the centre or it just didn’t work. Needless to say even though it sounded easy it took a lot of time and redos with minute tweaks to get everything right.

Amazing what you can do in your dining room with some card, a strobe and some masking tape (the bottle of excellent Scotch didn’t hurt either).
Once the basic images were done it was onto the computer for the next challenge, getting the markings to disappear from the flask as I wanted it to look clean and unmarked (I won’t even talk about the amount of time I took cloning out dust specks from both glass and the flask). In the end cloning out the markings just didn’t work well enough, leading to too many artefacts in the subtle shading. After a few hours of mucking around a much simpler way of doing it occurred to me so it was back into the studio (well, dining room) and retake the flask image with the markings to one side. After lots of mucking around getting the positioning right, back onto the computer, duplicate the image, flip it horizontally, and mask one side so that I essentially reflected the image down the centre and the markings disappeared.
Some final tweaks to the balance the light in the two images and then the compositing in photoshop only took a few minutes. Back into light room for a few final white balance and clarity tweaks and then onto the printer. Printing high key images is always a little of a challenge as any colour cast shows up badly, but not too many test prints were needed. Then into a nice frame (eventually winning the battle against stray cat fur which is always a challenge in our house with any white object). Have to admit I was pretty pleased with the final result and so I think was my friend.

Always a relief to actually see the print looking good, especially in A3.

And the end result ready to be wrapped :-)
The power of post processing
I am continually amazed by the amount of light modern digital cameras can pull in. We have gone from the days when cameras struggled to capture what we could see to being able to photograph things almost invisible to the naked eye. Milkyway photography is a great example of this. While just staring at the night sky is a reward in itself, using a camera to amplify what is there can have amazing results. However they do require a little bit of processing on computer bring out those amazing images we see on the web.

Original raw image from the camera after stitching two images together. Pretty but not really spectacular.
Nothing has really been added or subtracted from the original image. Some distortion from the stitching process has been removed and then it really is just a process of amplifying the light that has been captured in the digital image while trying to keep the dark bits, well dark. Still learning lots about doing this, but got lots of hints from David Magro whose workshop I was at when I captured this image earlier in the week. Essentially to get the final image below involved adjusting the dehaze, clarity and contrast sliders in Lightroom, using luminosity masks in Photoshop to burn in the lights and dodge the darks as well as removing noise, adding some vibrancy to the finished image and increasing the exposure in the foreground.

Petrel Cove, South Australia, Canon Eos 5D IV, EF 16-35mm f2.8L II, 16 mm, ISO3200 f2.8 30s, 2 photo stitch
While this image is not amazing for lots of reasons, I do love that I have caught the Milky Way, our two neighbouring galaxies and the bioluminescence in the surf in one shot. All in all feeling quite happy with my nights work.
Unexpected opportunities

Not a particularly picturesque lighthouse, but still a lighthouse and beggars cannot be chooser.
I was looking through online news and saw a post from our local member of gov about a working bee in one of the nearby conservation park around the lighthouse…… hold on, what lighthouse! Lighthouses are always handy locations so after after a bit of google maps research (it is actually within walking distance embarrassingly, so much for my in depth local knowledge) I set out with my Canon RP and phone to do some location scouting. It was the middle of day so was not planning on taking any real shots, just some location reminders.
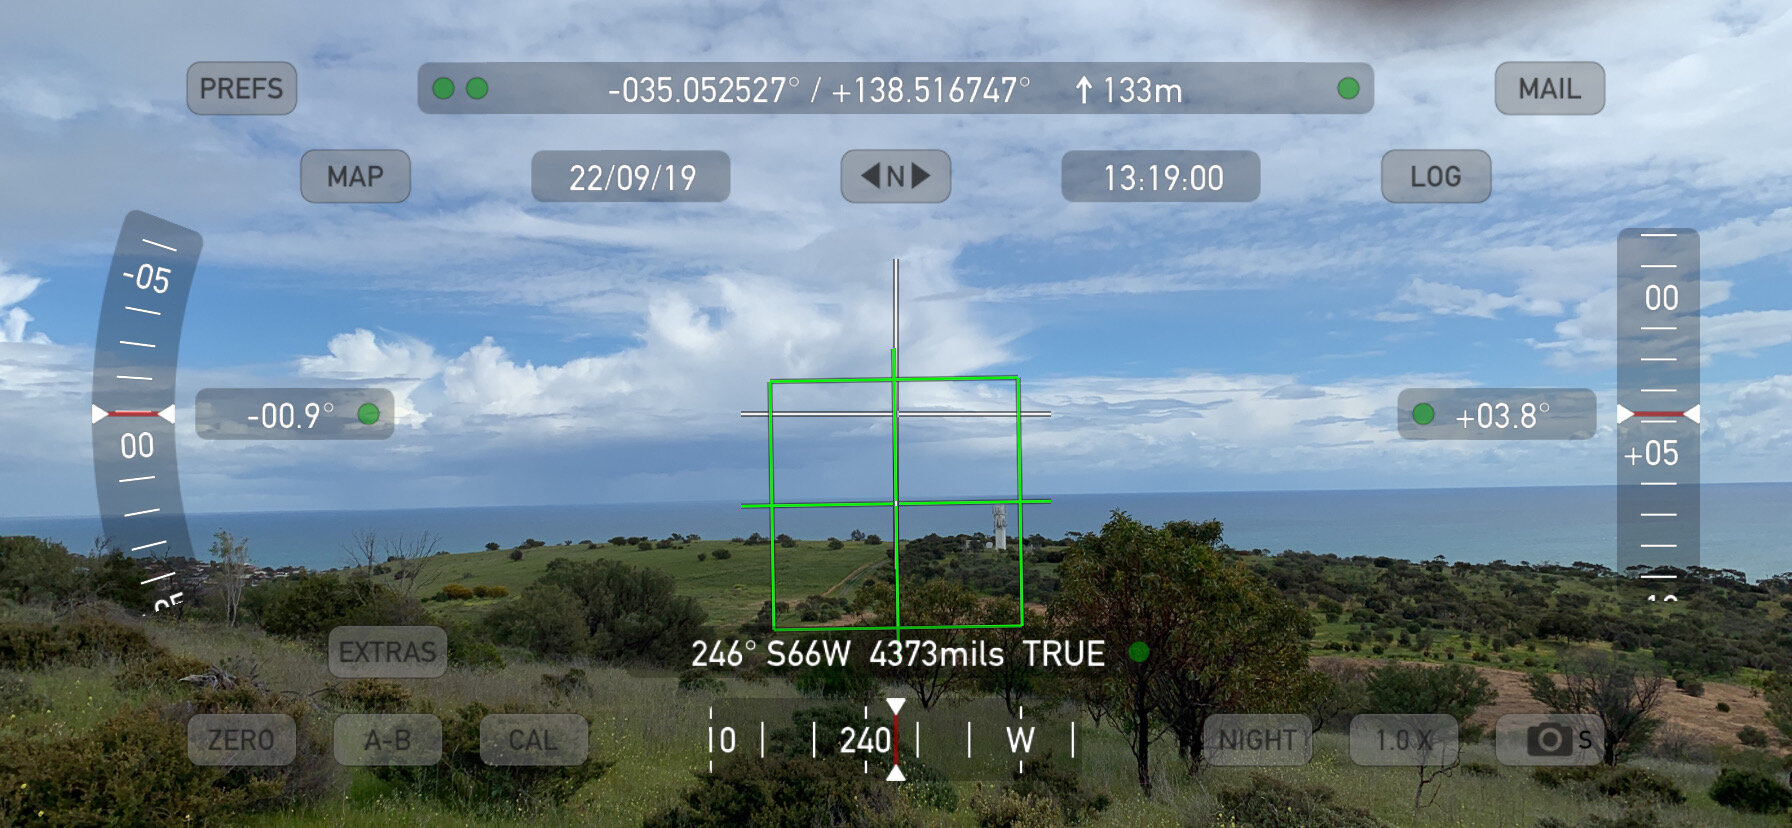
Just one of the weird apps I find useful for planning photos and remembering locations, “theodolite”
It really didn’t look like it would work for any of the evening or night shots I was hoping to do and so I wandered through the conservation park to the next hill looking for some long lens shots that may work. Just when I got to the top of this hill I looked across and saw an epic cloud framing the lighthouse. I didn’t have time, or the gear, to set up anything special so I just took some handheld images leaning towards under exposure to try and get some separation between clouds and sky. I think I always had it in my mind to try and turn it into a B&W to highlight the drama of the clouds, but really had no idea if it would work until I got home and could have a look at the image if it was going to be a keeper. I think it was in the end.
The final image is obviously enhanced from the original. Essentially all I did was convert it to B&W using two seperate luminosity masks on the one image. One lights mask to capture and define the sky and clouds, and a less aggressive mid tones mask to convert the land and lighthouse to monotone. In case you are wondering I use TK panels (https://goodlight.us/writing/actionspanelv7/tk7.html) to generate the masks in PhotoShop CC, they work incredibly well. Then the biggest challenge was to decide on the best crop. Just reinforces that you should always be ready to capture an image when it comes along.

Canon EOS RP, RF 24-105mm, f8 1/800s ISO100
In the mountains at dusk
I was really looking forward to a chance to take photos of snow capped mountains when I visited a friend in Queenstown NZ. Probably because they are bit hard to come by where I live in Adelaide. The experience didn’t disappoint.

The location in the ski field carpark was far from glorious, or pristine.
I had spent the majority of the day hiking to a beautiful spot called Sylvain Lake in warm sunshine and we had to rush back to Queenstown and the ski fields to try and get a sunset shot that I had really wanted. The change in temperature was some what bracing as I got out of the car.

A little colder than I am used to!
The carpark that my friend had taken me too was muddy, dirty and as soon as we got out of the car we were confronted with beer bottles and someones partially digested lunch. But walking to the edge of the carpark and looking towards the Remarkables range it was definitely worth it.

the pinks of the Alpin glow. Definitely worth seeing
In the limited time I had to capture the colour I tried quite a few lines, panos and compositions, however the one I chose in the end was simply done using my favourite 24-105 at about 50 mm cropped down to a classic pano view. In processing had to use some graduated filters in Lightroom to lighten the foreground an d balance the sky, but in general just a really simple image that I think works and, for me at least, a really fun introduction to mountain landscapes.

Canon EOS RP, RF24-105mm F4 L IS USM, ISO 100, 50mm, F8, 2 seconds. No filters
Rocks can be pretty too
Found a spot within walking distance of my house I had not noticed before that I thought I would check out and hope for some something with the sunset. A bit of a scrabble to get too, but the colours in all those rocks were really amazing (the poor iPhone shot has no chance of capturing them). The sunset itself was a bust but the rocks and the old fence definitely became the subject of the image.

A really important part of any photo location is a comfortable rock to sit on while you are waiting for the light!
I was so taken by the colour and the variety of the rock that I had to capture them while trying to highlight the fence marching down to the sea. A light reverse grad used to try and bring the sky into bounds without loosing the foreground exposure. In Lightroom a grad to darken the the sky with a bit of added warmth. Some vibrance and clarity added to the rocks in the foreground and an oval grad to highlight the fence posts. In Photoshop used a luminosity mask to selectively burn back some of the blown highlights in the foreground rocks and a bit of gaussian blur to put in a bit of a glow. Soft vignette than to highlight the fence even more. Looks a little overworked I know, but it really is how I felt it looked as I sat there enjoying the sunset.

Canon EOS RP, EF16-35mm f/2.8L II USM, 35 mm, ISO 100, f11, 0.4 sec
Perks of the trade
Another weekend of average weather, but that is OK as I promised to do some bottle shots for a winemaking friend so he can sell his wines on line. It is technically fun doing these shots as getting consistent light on a curved surface without any unwanted reflections can be,,, interesting. And I can’t help myself and end up always going overkill.

4 studio lights, 2 tripods, 2 scrims, a tape measure, a spirit level and a large lump of polystyrene foam. Nothing to it really.
Each bottle gets at least 3 shots for each image which get composited in Photoshop so that the bottle is evenly lit and the label is nice and clear. Once set up it is pretty quick to do each image. It is just the hour of work to put it all away so that I get my dining room back which is the annoying bit. :-) And the payment for this, I get to drink the wine of course!

Backbeat wines GSM!

Taking advantage of a nice road on a bleary day.
Was determined take some pictures this weekend after bad weather and work commitments had got in the way for the last few weeks. The weather did not look like it was going to come out to play unfortunately, but remembered a spot 30 minutes from home that I had noticed when exploring a month or so ago that a flat overcast day would work with.
Just a short bit of road but with amazing overarching trees that were intertwined, framing the road really nicely. Pulled out the 100-400 to get the reach and compression I wanted (ended up shooting at about 160mm) and a pretty slow 1/15 of a second shutter speed to push the aperture to f11. Other than that no filters or anything special.

The final image was cropped down to 5x4 (still trying to decide if I should have made it square and lose a bit of the road in the foreground) and then into Lightroom for some base adjustments and to warm it up slightly. Photoshop for some luminosity masks to add brightness and contrast to the branches and saturation to the greens. A bit of a vignette to focus the interest down the road and finally a light Orton affect to add a bit of glow to the trees and leaves, masking out the road and foreground. And that was it. No day is bad when you can get a nice picture like this.

Canon EOS 5D Mark IV EF100-400mm f/4.5-5.6L IS II USM, 158 mm ISO100, F11, 1/15