Setting up the MSM Nomad for an astro shoot
An image shot using the MSM Nomad star tracker where I had to rush as I tried to get the image during breaks in the clouds.
So what are the simple steps to quickly set up and polar align an MSM Nomad star tracker with a phone? In the field it honestly takes me all of 2 minutes, but I think the explanation may be longer… Anyway, here is a brief outline of what I do.
1. Set up the tripod. Unless I am shooting on rocks I really like to use my tripod with spiked feet so I can push it into the ground. Helps with wind and reducing possible movement when adjusting the camera position (and the issue with me being clumsy and kicking the tripod). Heavier stainless steel tripods are also to be avoided as they can impact the compass in the phone.

2. Level the tripod. For this purpose it does not need to be super exact (compared to using something like the Benro Polaris where it is critically important) but it doesn’t hurt and can make the polar alignment slightly simpler. I just use the bubble level built into the tripod. Having a levelling head on the tripod make this simpler as well, but not critical.

3. Mount the wedge on the tripod. I usually have a ball-head attached for landscapes so I have to remove it and attach the wedge. If you only use your tripod for astro it does not hurt to leave it on permanaently. I have a rotator attachment permanently attached to the base of my wedge as this makes life way easier in the next steps.

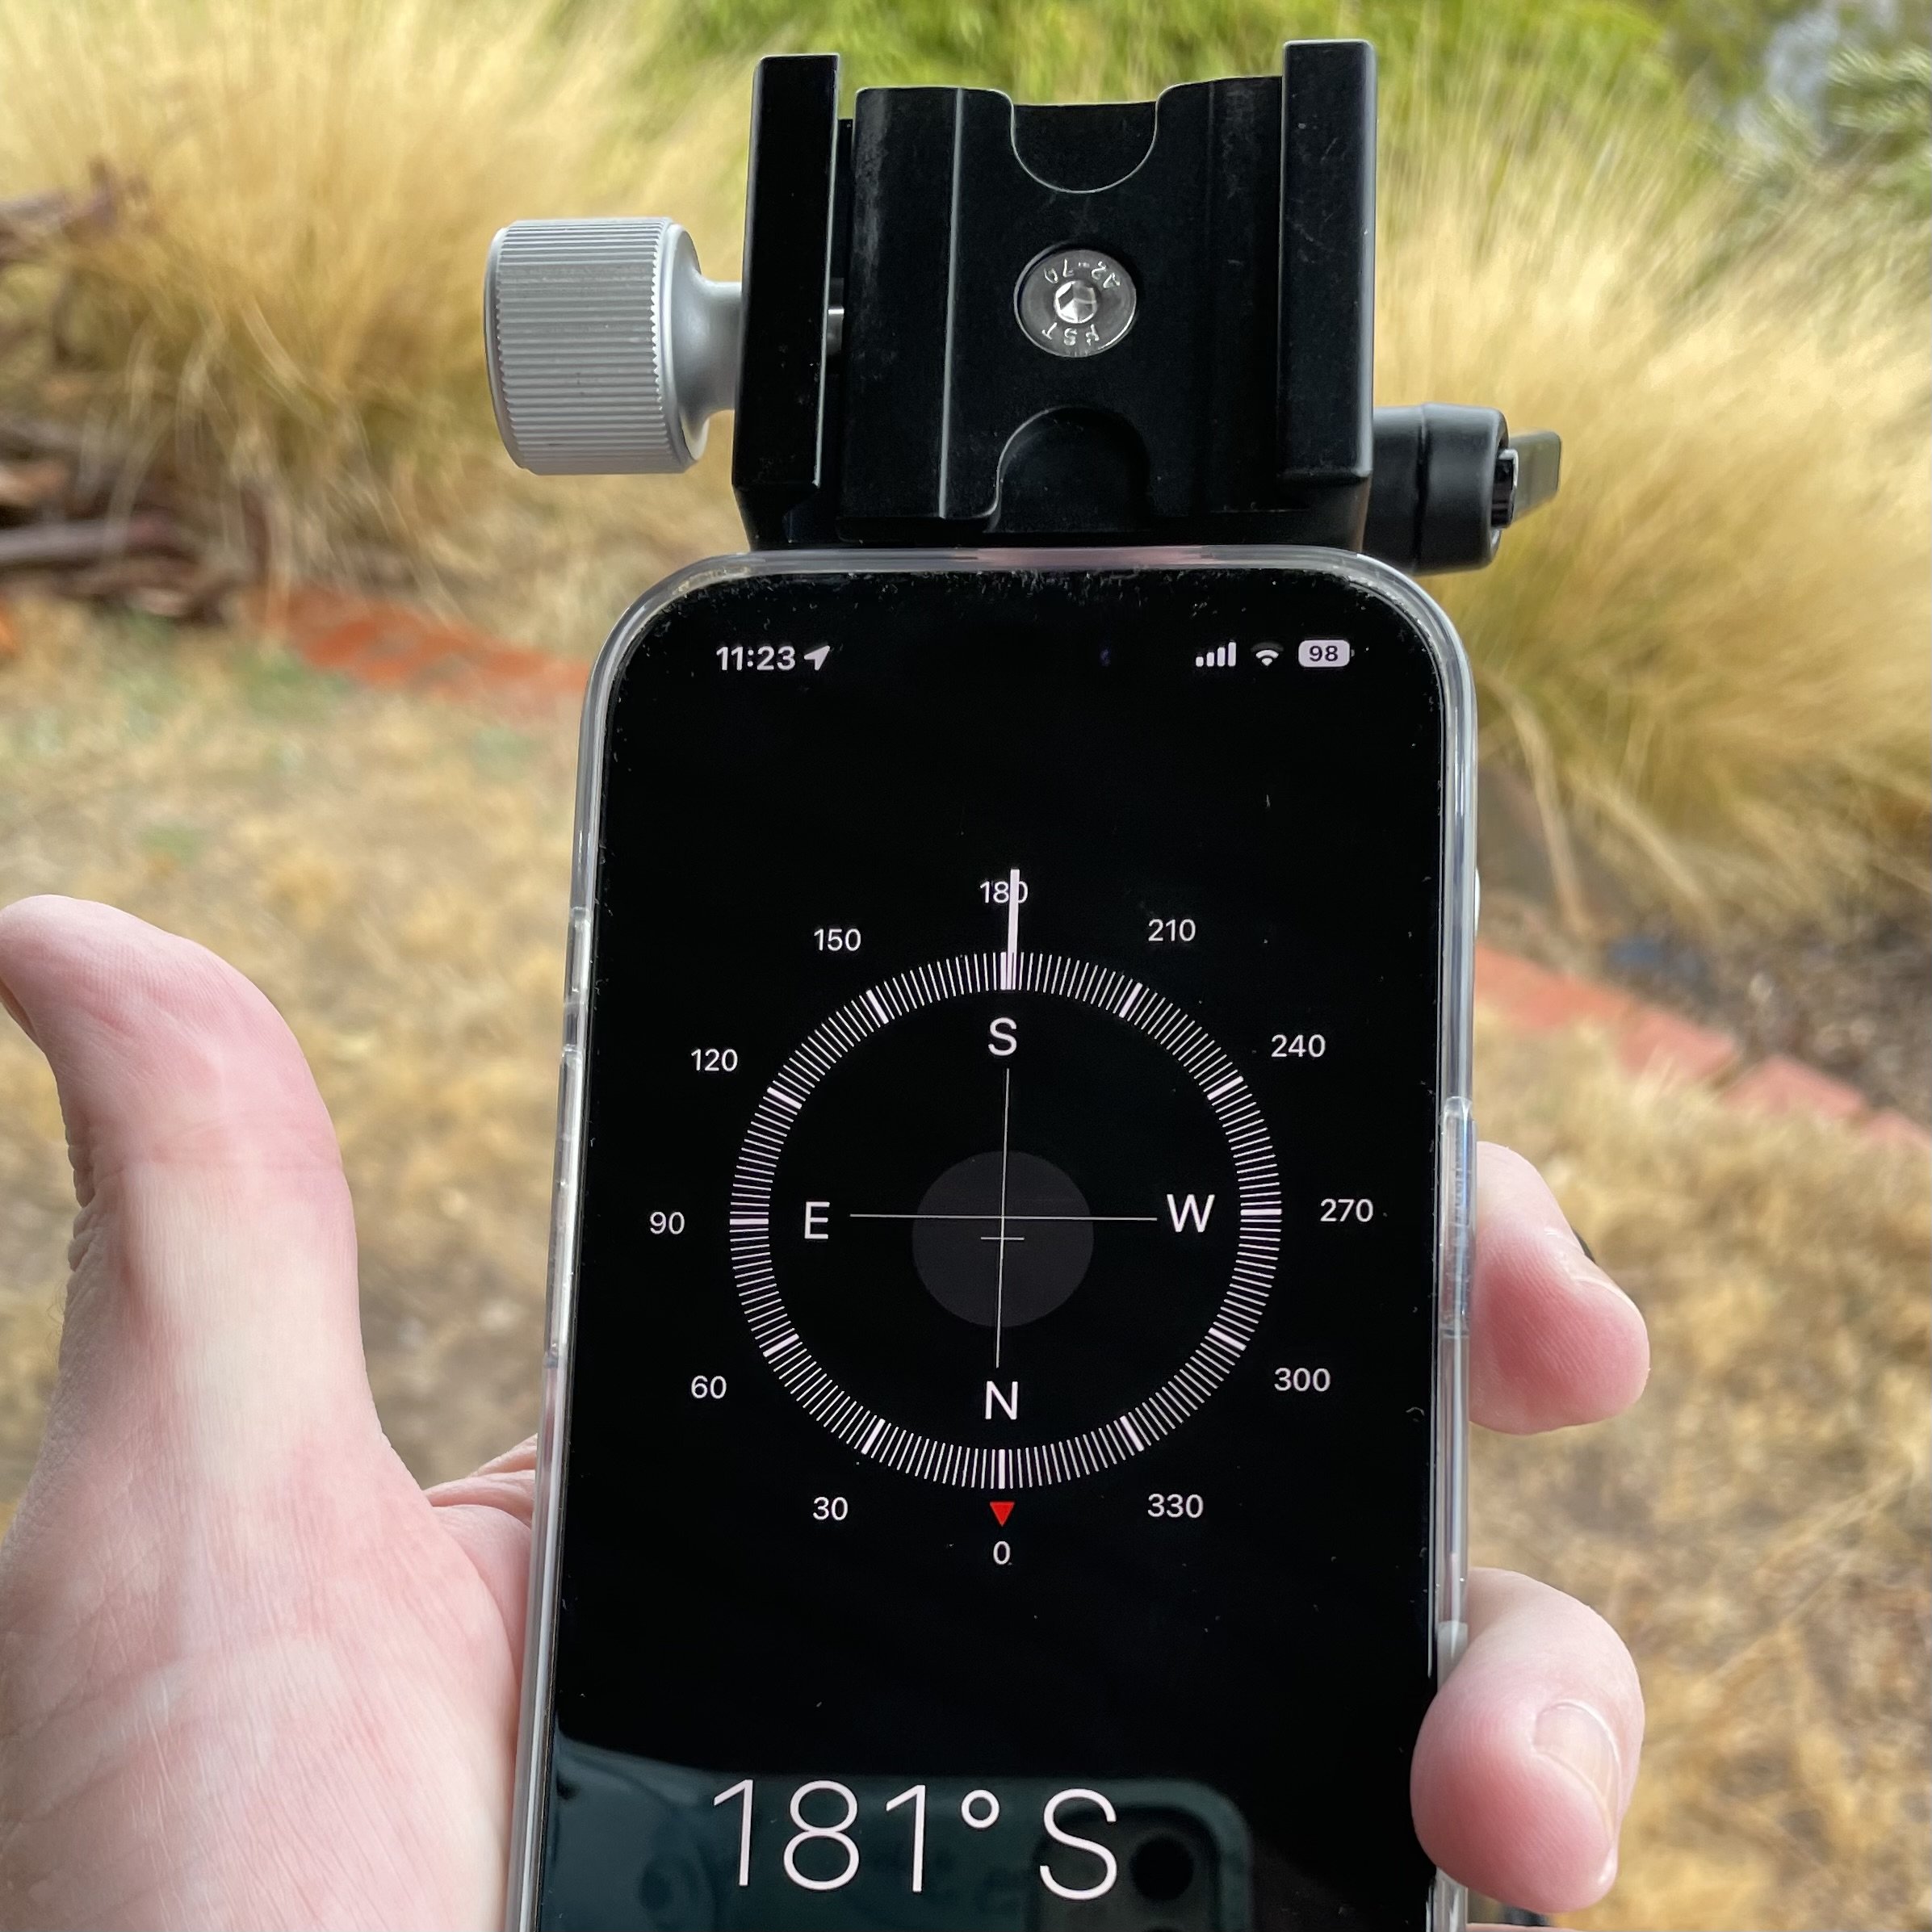
4. Using the compass roughly align the wedge south (if you are in the Southern hemisphere, north if you are in the Northern hemisphere).
5. Mount the Nomad with the v-plate and ball-head attached on the wedge (do not attach the camera at this point!). I take this opportunity to set the v-plate so it is reasonably level and arrange the ball head so it is in roughly the position that I want it to be once I have the camera mounted and shooting. This reduces the chances of knocking things out of alignment when you are adjusting the camera (every little bit helps).
6. I tighten the v-plate in its position using a little 3d printed tool to make sure it is nice and secure. Really important if you are using a heavier camera as the plate can sag over time if not tightened enough and the tool just makes it a little easier, especially on cold nights. If your tripod is level and you have got the plate level then you should not need to adjust this again through the night even if you move to a differnet location (just use the rotator built into the bottom plate of the v-plate to re-level as the star tracker rotates over time).

7. Slip the phone holder onto the Nomad tracker.

8. Take off your smart watch and put it in your pocket (honestly, mine impacts the phone compass, check out my blog post from 4/5/25).
9. Calibrate your phone by moving it in a large figure 8 motion keeping the phone roughly perpendicular to the ground (this is the procedure for iPhones and I believe for others as well). You look a bit silly, but honestly it is important to do it before any time you polar align.
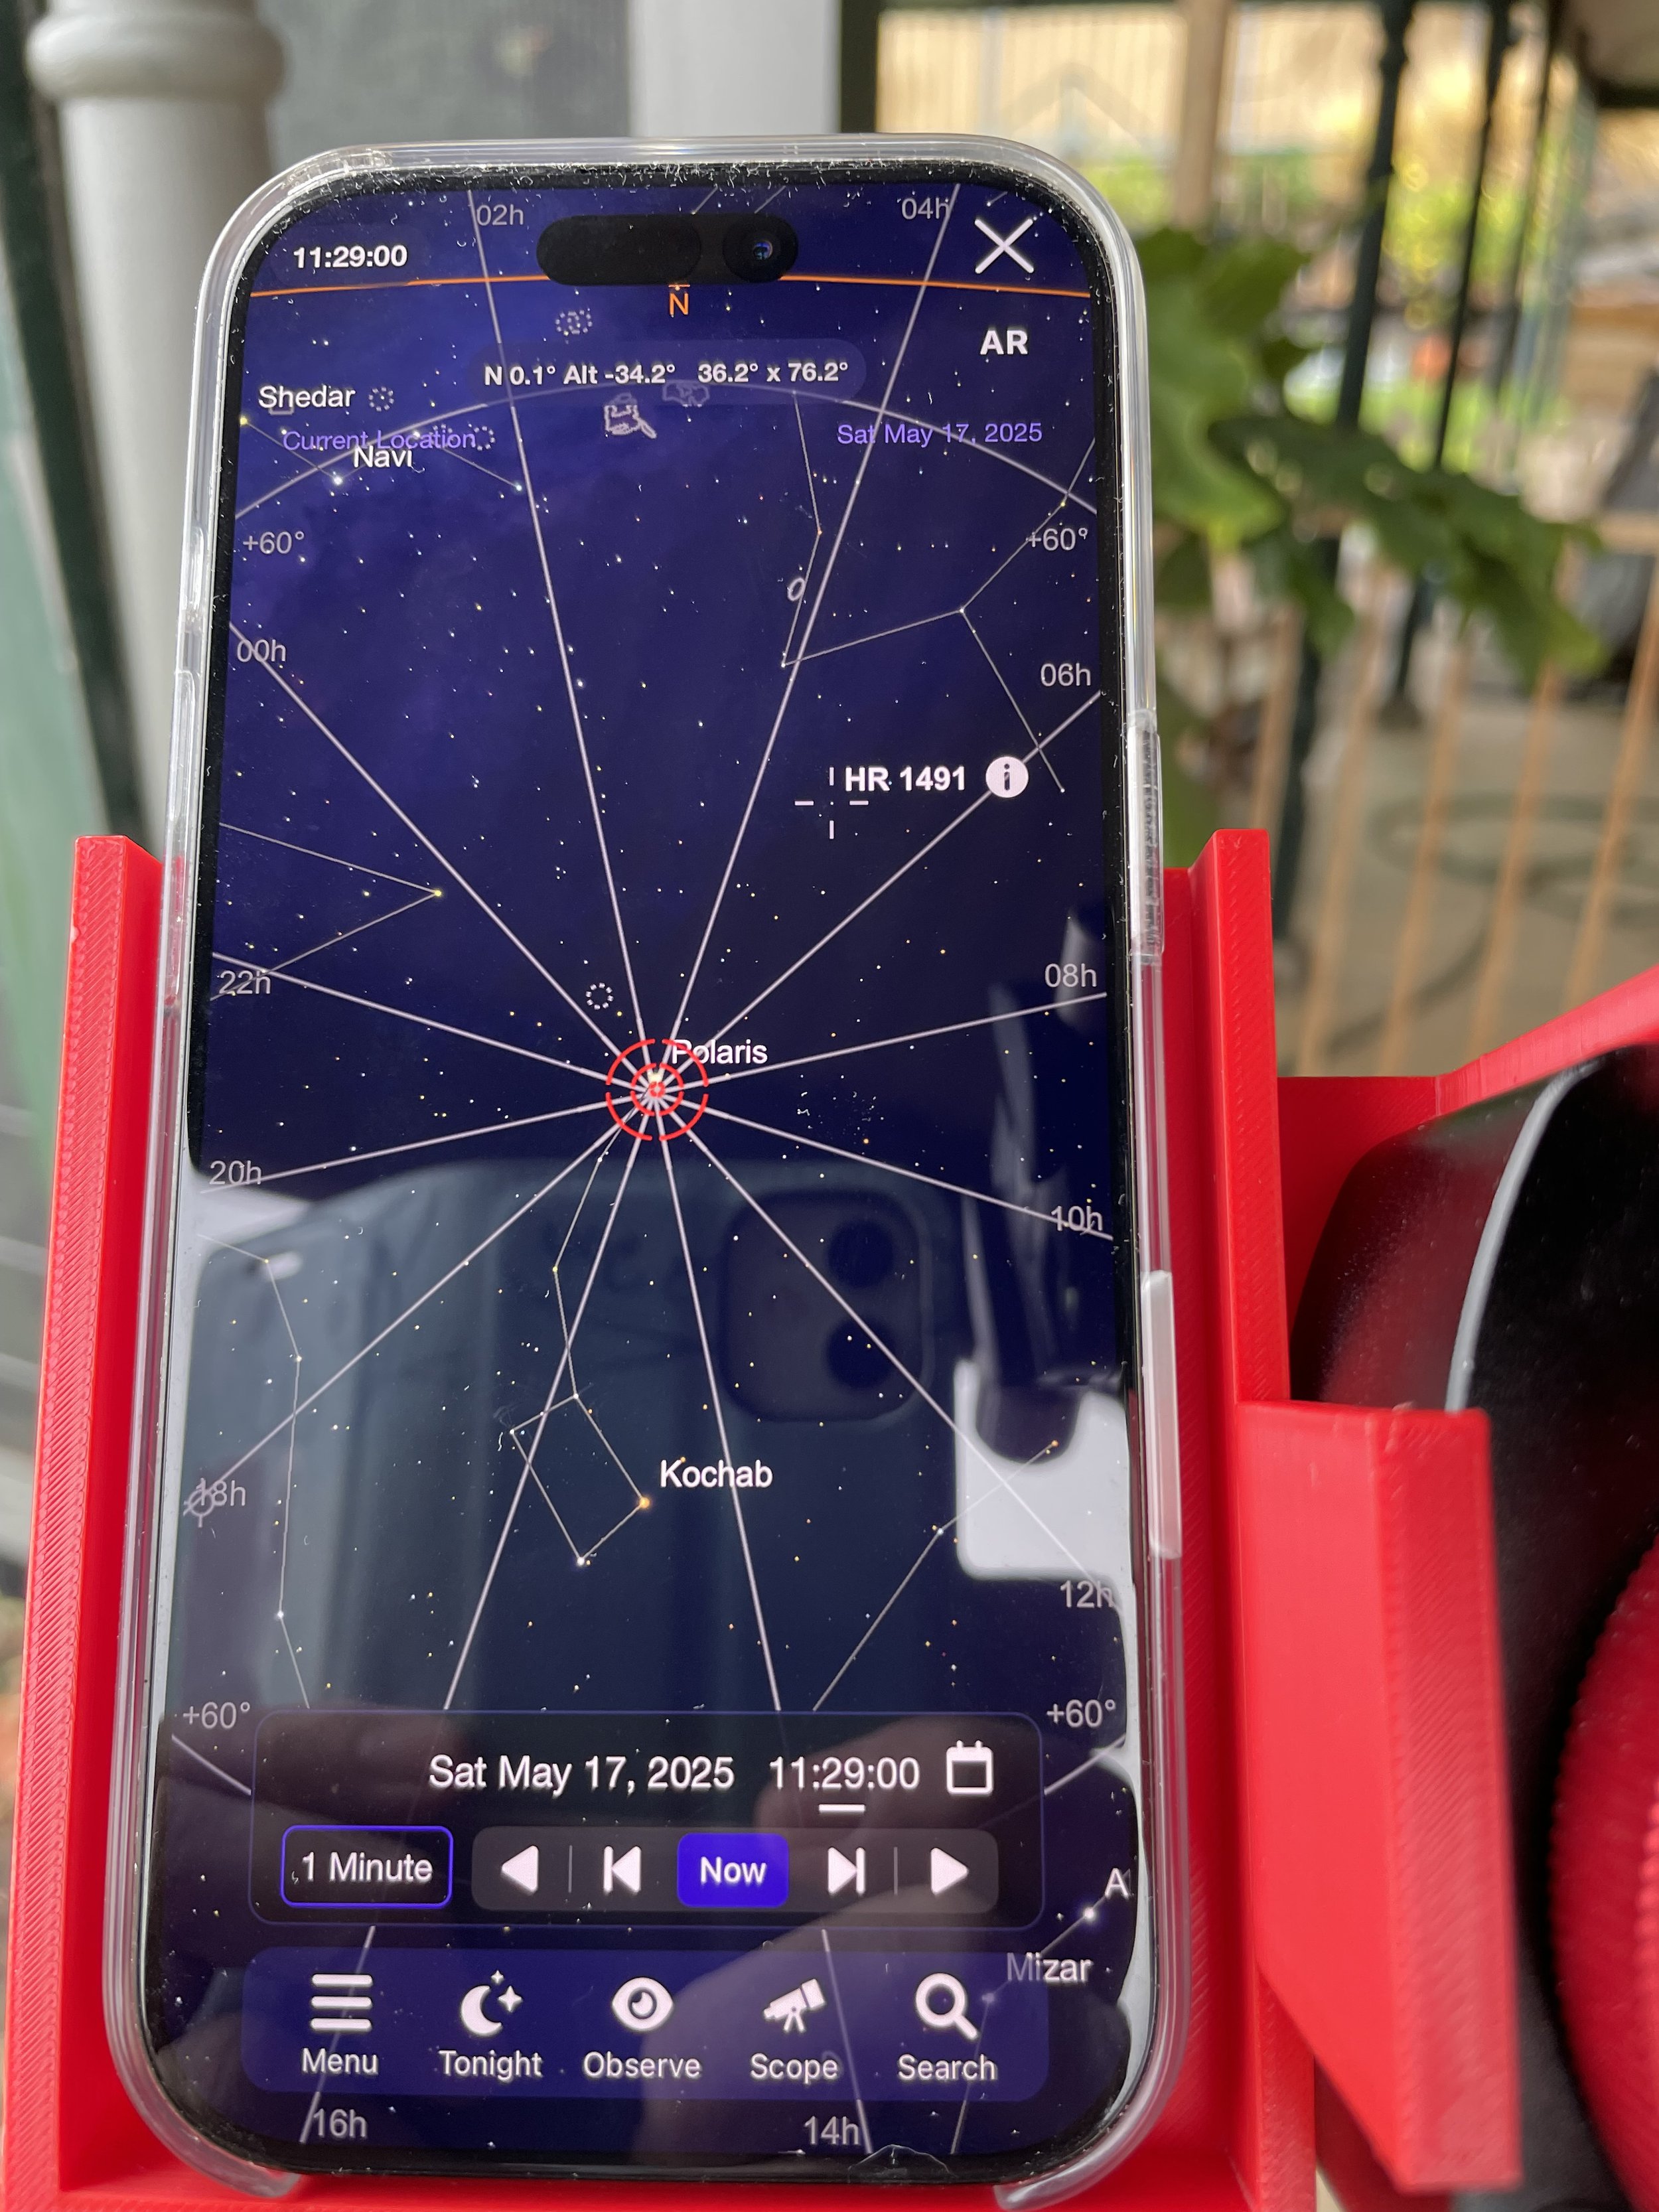
10. Checking the tracker is turned off, place the phone in the holder and begin the polar alignment process with your chosen app. Make sure your camera and lens are nowhere near the phone, and not mounted on the tracker. Once again, it really does make a difference. There are some hints to setting up the Sky Safari Pro and PhotoPils apps in my blog 5/17/25.
11. When polar aligning I adjust the horizontal alignment first using the rotator under the wedge. I then adjust the vertical alignment using the large silver knob on the wedge. It is important to tighten both the rotator knob and the large lever locking the vertical adjustment in place on the wedge once you are finished. If these are not tight it is really easy to bump things out the alignment.

12. If the alignment reticle tends to drift while you are doing the process it generally means the phone is not properly calibrated or you have a magnetic source (such as a camera, lens, watch etc) too close. Sometimes it can be power lines or similar. If you do find the source, remove it and recalibrate your phone before you proceed.
13. I tend to take my phone off the holder once I have finished polar aligning, mostly so I don’t drop it while I am doing other stuff. If you do leave it in place don’t make the mistake of thinking that the alignment is off after you mount the camera and turn on the tracker, it is more likely just your phone interacting with these new magnetic fields. Better just to remove it…
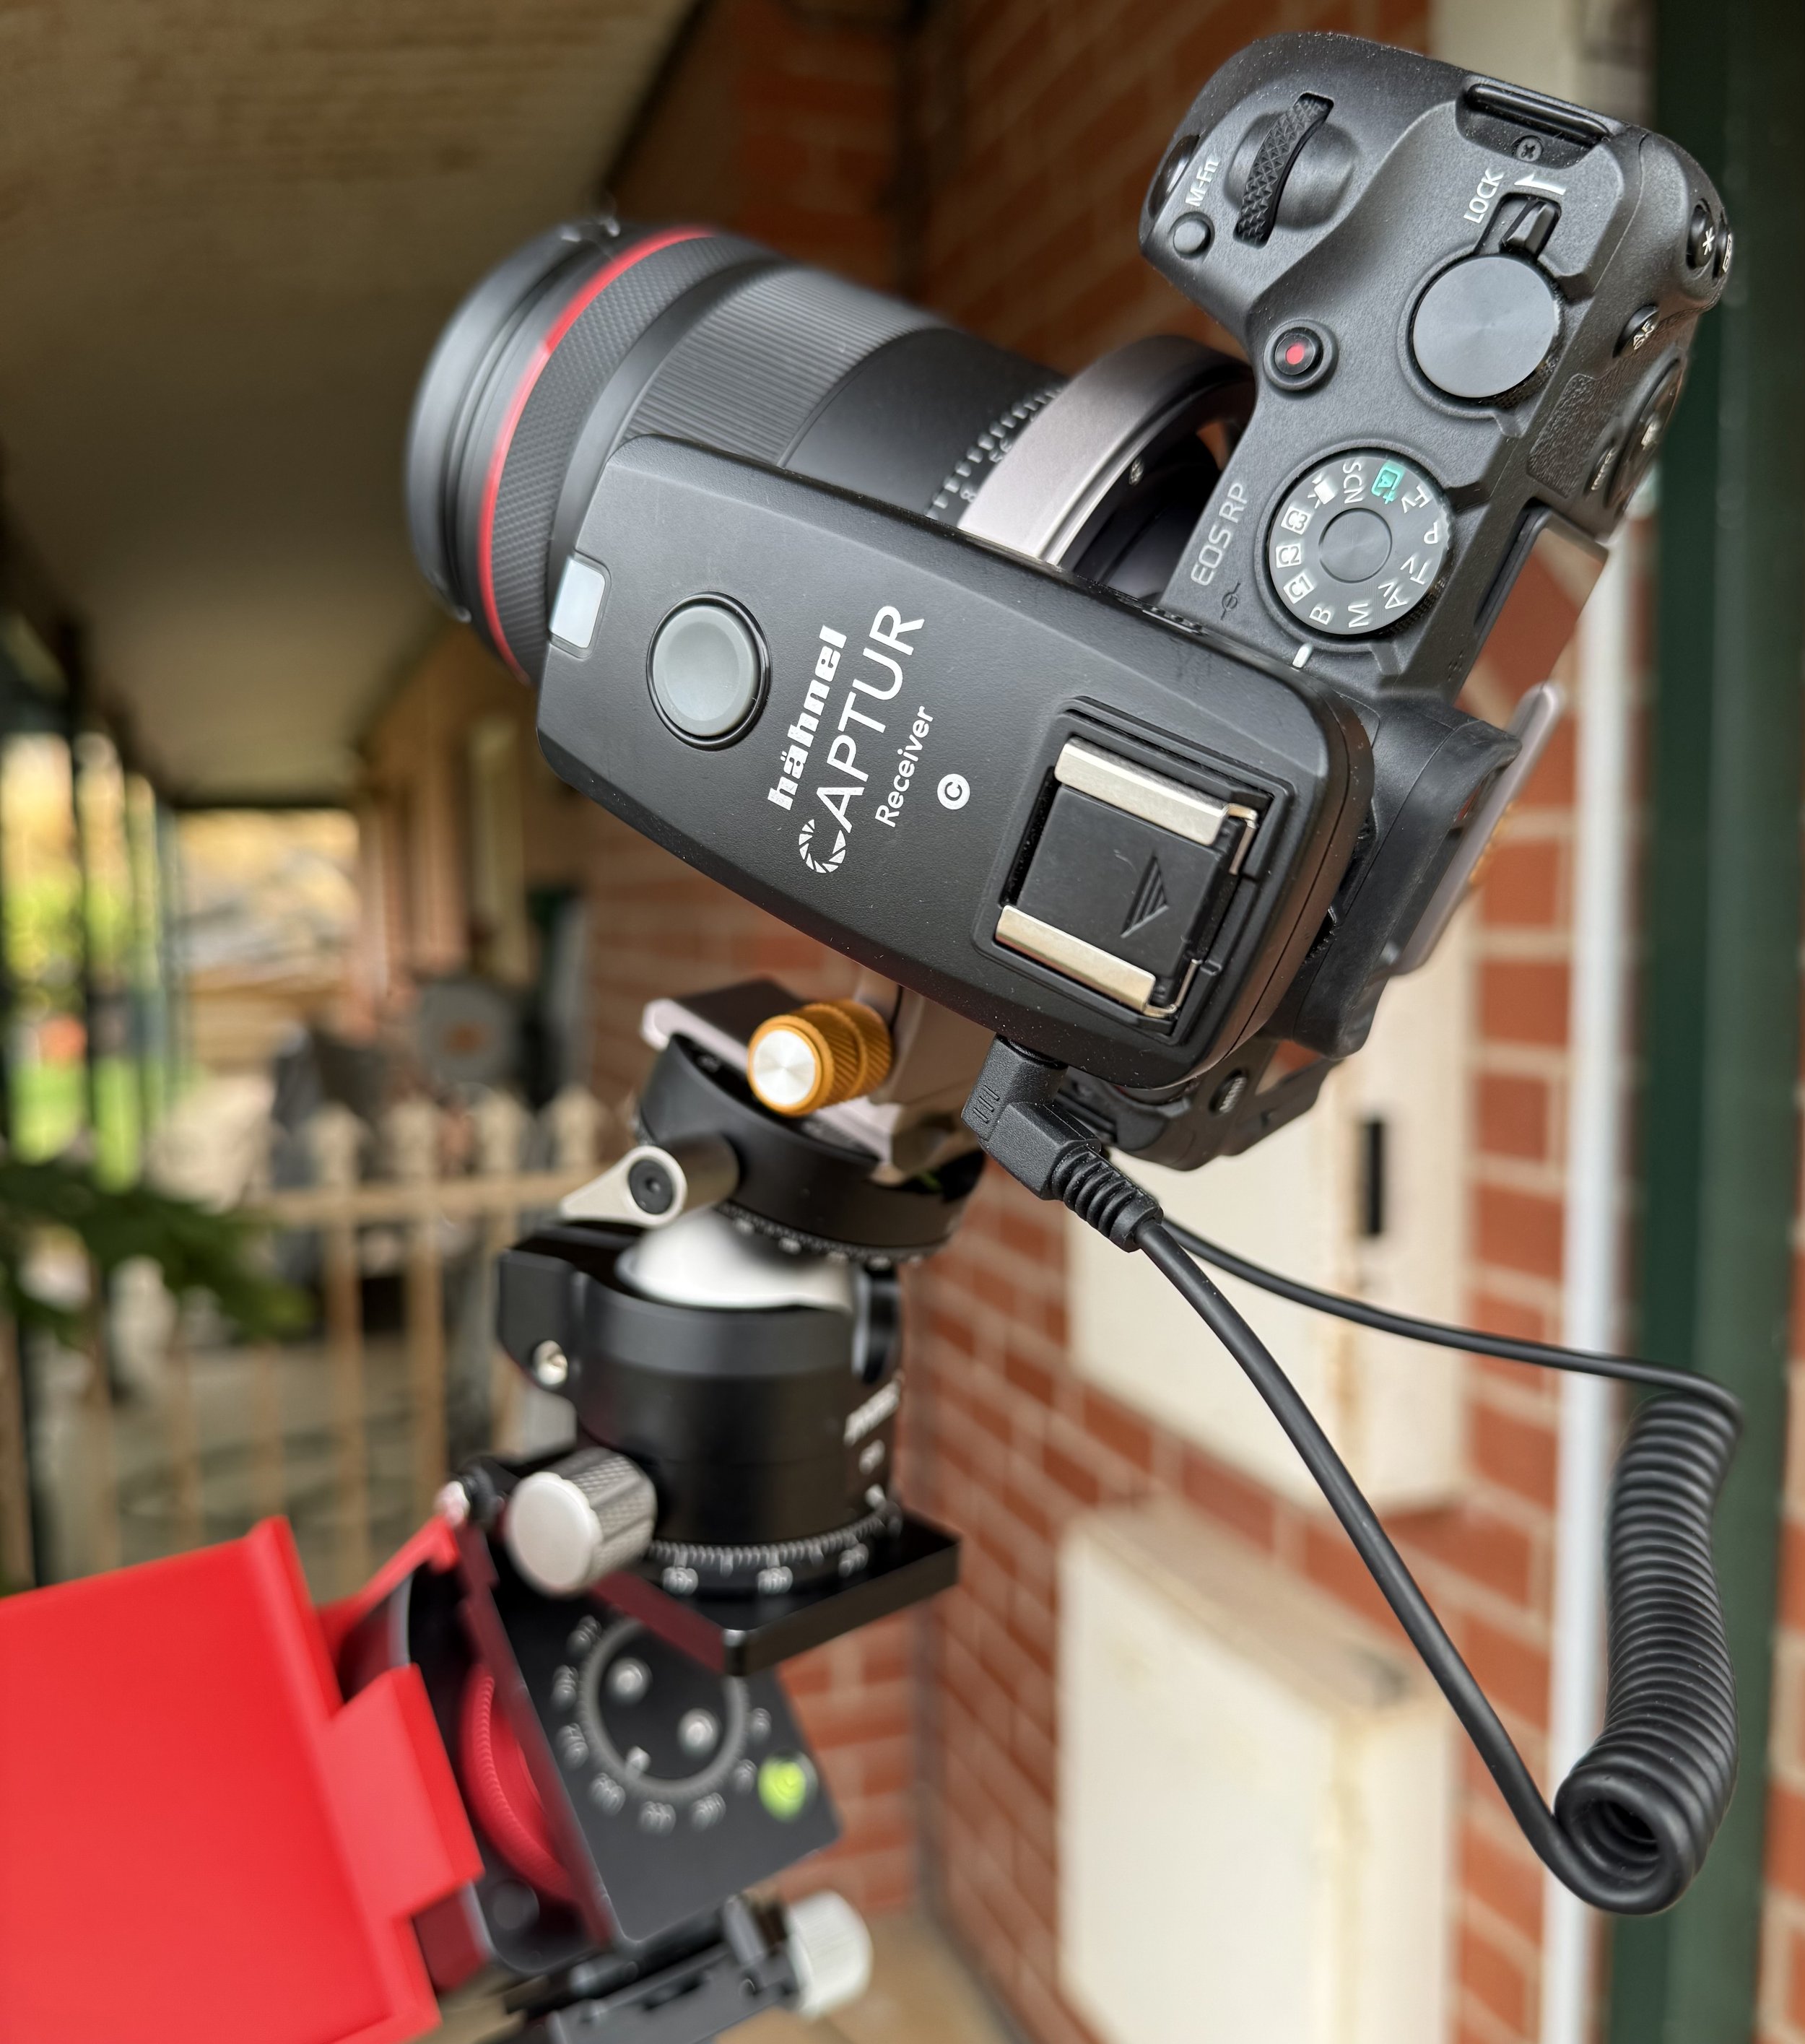
14. Set up your camera and attachments before you mount the camera on the tracker. For me this involves; attaching my remote release intervalometer, setting the camera to bulb mode, focus to manual, ISO800, aperture to the lowest setting. I also tend to use my head torch to set focus to something more than 15 or 20m away.
15. Mount the camera on the ball head being careful to tighten it securely and carefully. This is a step where it is easy to bump the whole setup out of alignment, but with a bit of practice it is not to hard to do.
16. Check the focus, really easy to bump it while mounting the camera.
17. Turn on the tracker making sure to set the switch to the appropriate hemisphere (honestly, I cannot tell you how many times I have forgotten this step, it really is embarrassing).
18. Use the ball head to compose the shot and then do a 30 or 60 second test image looking to see if you have any star trails. If you do, check the tracker is turned on (really, this gets forgotten so often), and if it is, take the camera off the tracker, turn the tracker off and go back to step 8 after putting the camera down a few meters from the tracker. I have not needed to do this at all since I have got into the procedure above, but it can happen.

An unedited 60 second test exposure from my astro modified Canon RP with a 20mm lens
19. If all is good then tweak your exposure settings and go for it.
20. If you need to move the tripod to a different location turn off the tracker and remove the camera from the ball head (probably safer to do it that way anyway) and then start from step 8 in the new location, including recalibrating your phone. Honestly it only takes a minute to redo the whole process and you will get great results straight away.
21. If you are doing panos or a large number of shots for stacking, it is worth using the rotator on the bottom plate of the v-plate to level the camera every 10 minutes or so. It just makes stitching after the event that little bit easier.
22. If you leave your camera on the tracker for your foregrounds remember to turn it off (yep, forgotten this a heap of times) to avoid blurred foregrounds which tend to look horrible.
And that’s about it. Following these steps I have not had any problems doing 4 minute exposures with a 40mm lens. I found it was really helpful to practice the whole procedure in the daylight to get a feel for everything (including where everything is in your bag) and become familiar where all the various knobs and controls are. Once you do it a few times setting up and getting shooting in 2 minutes is really easy. For more hints and information read some of my earlier blogs and watch Richard Tatti’s YouTube videos (he is an amazing educator). Other than that, get out and take images, nothing beats practice and it is always fun being out under the stars.
Eric Wilkes
June 2025