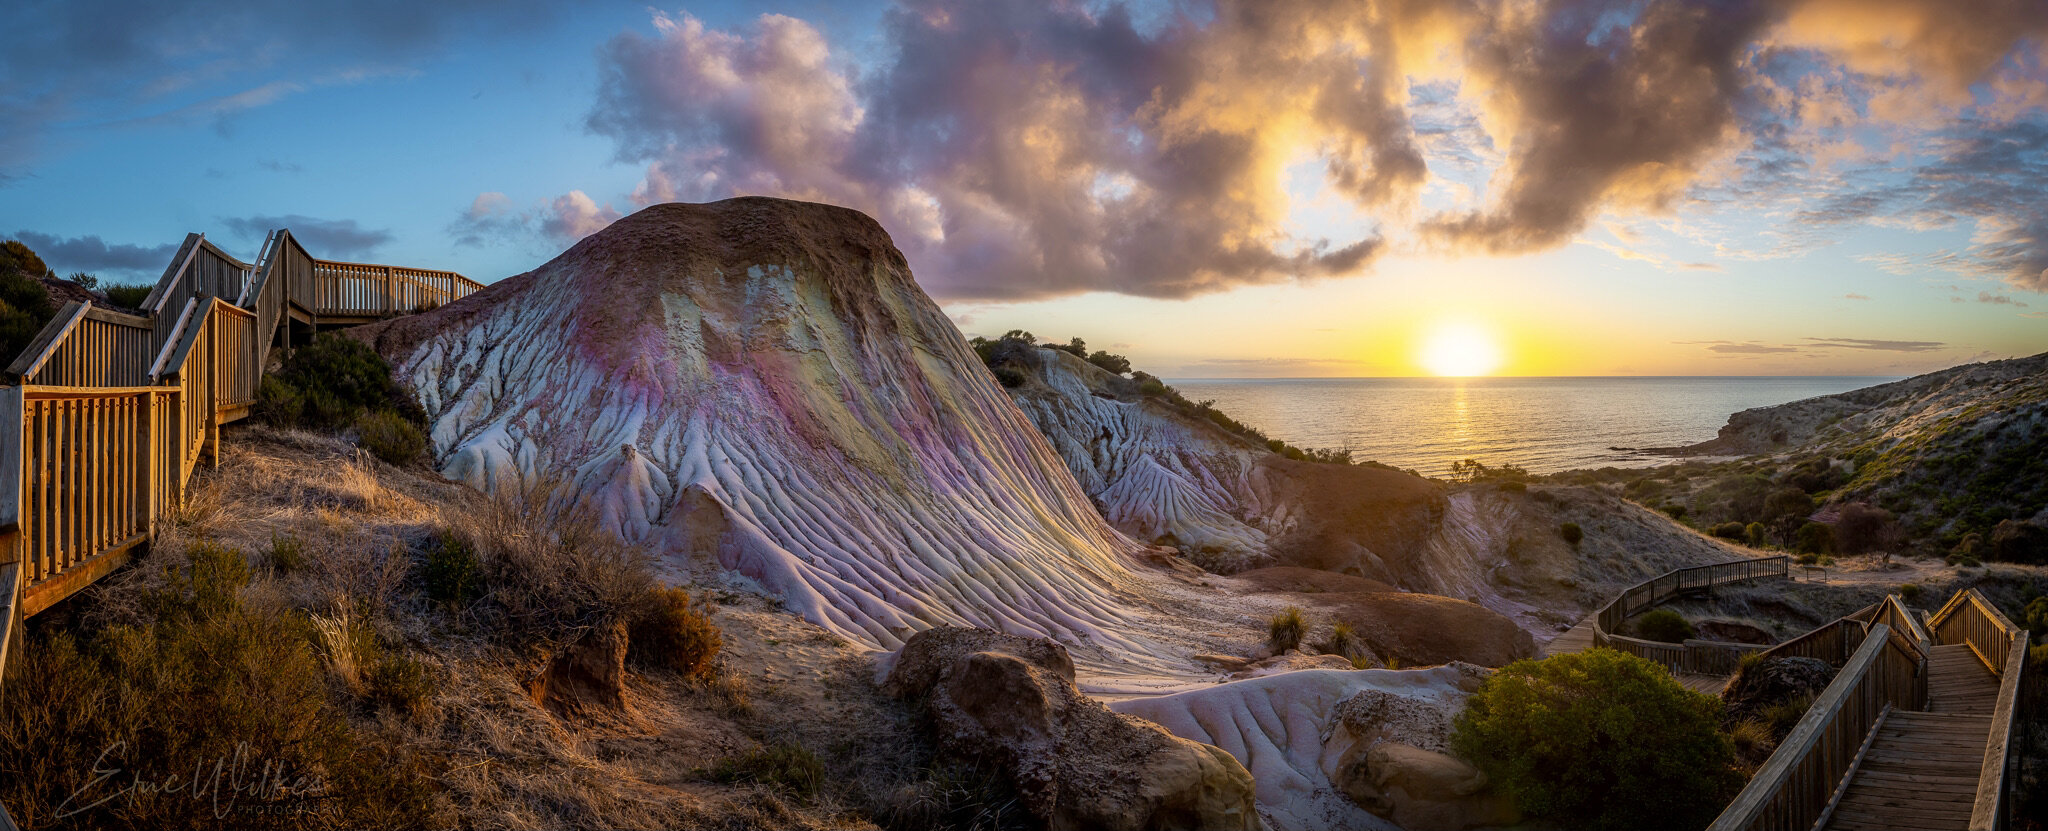
Creating a mega pano
I have been learning a lot more about doing pano’s ever since I set out to do some Milky Way shots and was disappointed in some of my first efforts. This led to lots of You Tube videos and purchases of nodal brackets and pano heads. During the week I decided to try out a Syrup Geni II to automate the process as I had been unhappy with a few of the manual options to do the overlaps for each photo (and lets be real, it is cool tech and that is enough for me). Decided it would be best to try it out in daylight and so off to sunset at an obvious nearby location.
Canon RP, RF 35mm 1.8, ISO 100, f14, 1/15sec, 10 images in 2 rows.
First thing I had learnt in my understanding of getting panos with close foregrounds is the need to rotate the camera about the lens nodal point and not the sensor frame to avoid parallax issues. This just requires a nodal bracket (and a level tripod :-) ), pretty cheap from eBay.
Nodal bracket, note also the pan and tilt tripod head, makes life much easier with panos.
This set up had worked quite well for me when I did the pano of the Milky Way in the Flinders last year, but getting consistent overlap (really important for good image stitching) was a pain and the indexed panning heads I had tried never worked that well. So after a bit of research I got hold of Genie mini II from Syrp which is a motorised pan head which you can control from your phone with it doing all the calculations for the overlap for a given lens and angle of image.
The Genie mini also lets me control my camera settings from my phone, quite clever
So set a start point, and endpoint, press the button, it take the first 5 photos, tilt the camera for the next row (you can have two of the units and it will do both pan and tilt but I am too cheap for that) press a button and the second row is done. Too easy. Then it is into the computer to put it all together.
10 images ready to be put together, as always exposed to the right to try and reduce blown highlights.
Once into the computer with such a constant set of images the Lightroom function to stitch them together worked brilliantly with no need to jump into any 3rd party software.
It stitched together beautifully with no artefacts at all. Only problem was the image size of 510 MB which was interesting to work with. Glad I used the RP and not the R5.
After this it was back to my normal post process for landscapes. Bring out the shadows and dial down the highlights (a lot, massive dynamic range in this image), some curves to add some punch, and some work with HSL sliders to bring out the colours. Some local adjustments with clarity and tone to add a bit more texture to the foreground and remove some annoying sensor spots. Then crop down to a more friendly aspect ratio.
Finally into photoshop to add a very light Orton effect using luminosity masks to restrict it to the midtowns and highlights and a gradient mask to keep the foreground crisp (I find the Orton effect works much better if it gains strength as you move into the image). A saturation layer to boost the colour just a little more and then a soft vignette to finish.
Really happy with how it turned out in the end and yes, could have done it all with a ball head and a bit of patience, but really I am way to lazy and impatient for that to work.


